
Thanks for having me out, Anthony. Below is everything we went over, in the order we walked the yard, with the details on each so you have it all in one place.
As a consult client, you're already in the Garden Nerd Club, so you have direct access to me there. If questions come up while you work through any of this, ask me there anytime.
Where to start
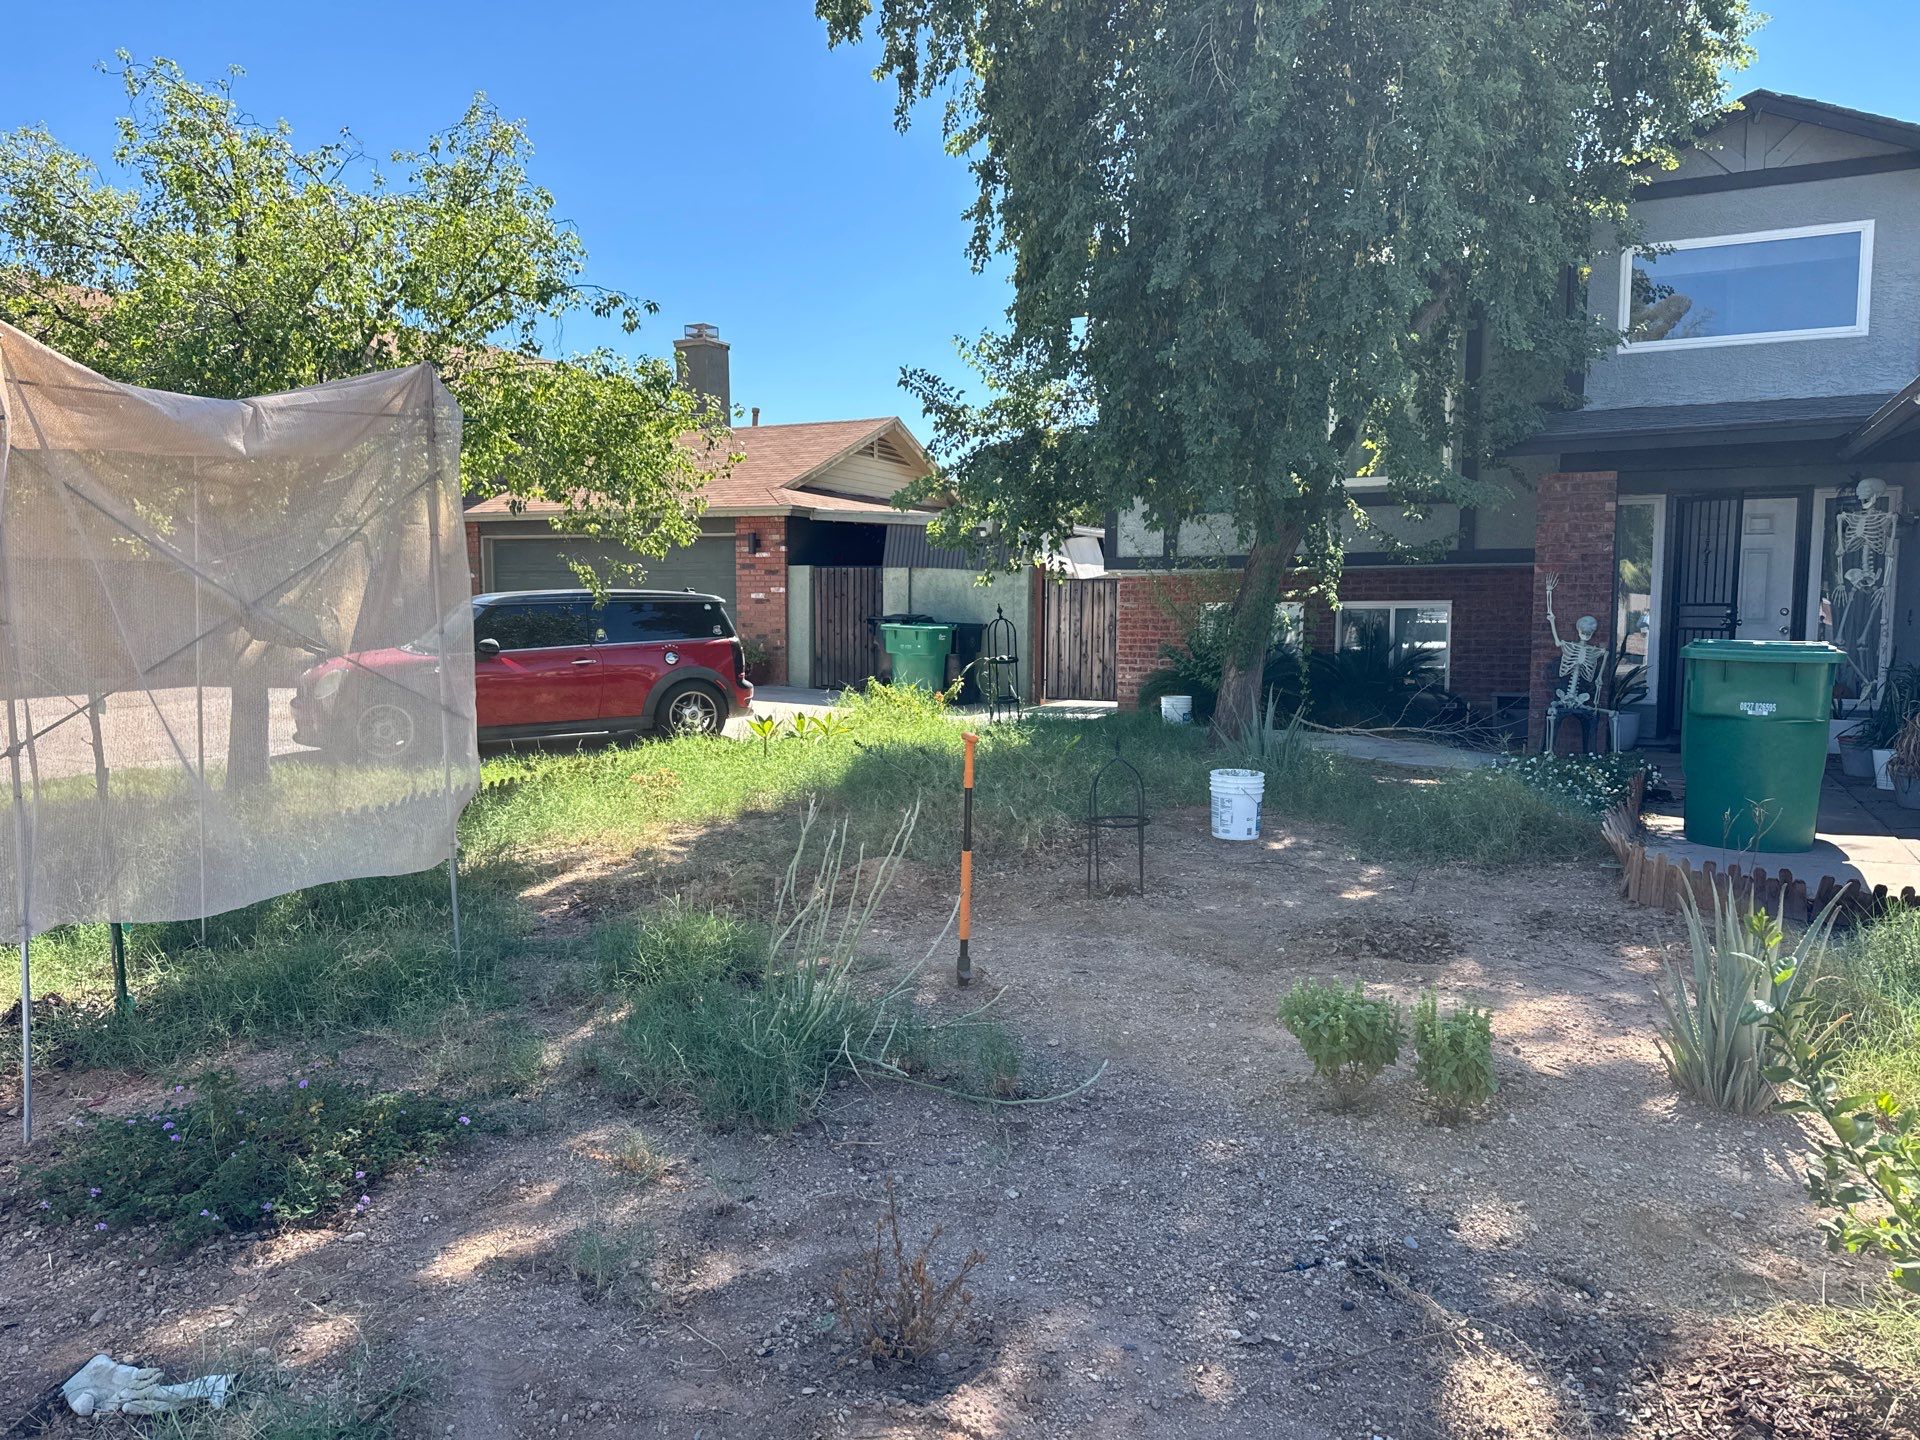
Start with a shade tree to build the microclimate
The first thing to do out front is plant a shade tree. Right now the front yard takes the full sun with nothing to break it, and almost everything else you want to grow here, especially edibles, will do far better once there's some shade. That's what building a microclimate means: the tree cools the ground, holds moisture, blocks wind, and protects whatever you plant around it.
Since you want edibles, a fruiting mulberry is the best option. It grows fast, gives big shade, and feeds you. Moringa and Chinese elm are two other good choices.
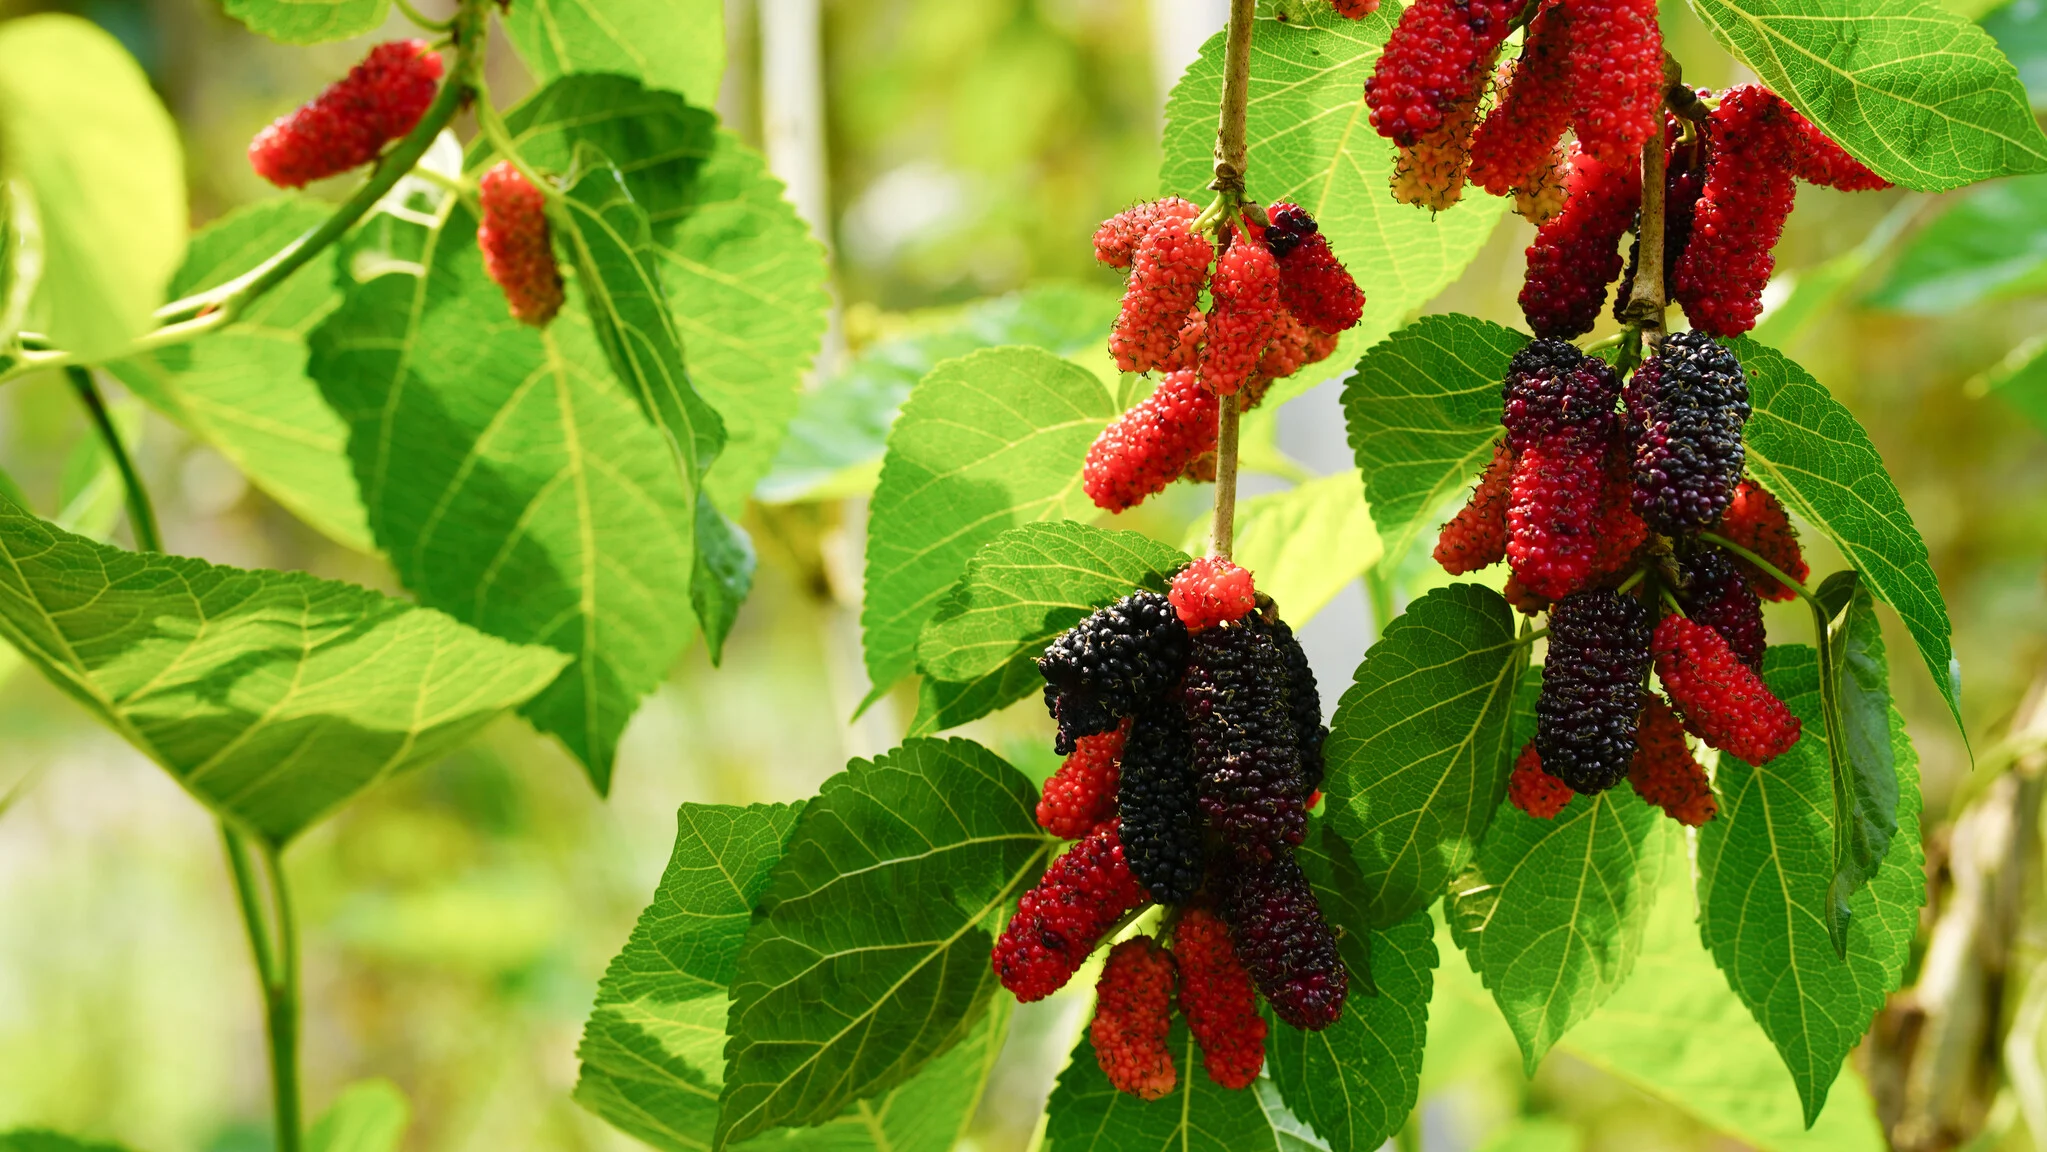
Mulberry (fruiting)
Fast growing shade tree, 30 to 40 feet, with a big, dense canopy and sweet berries in spring. One of the fastest ways to get real shade and food at the same time. The berries stain, so plant it away from the driveway and walkways.
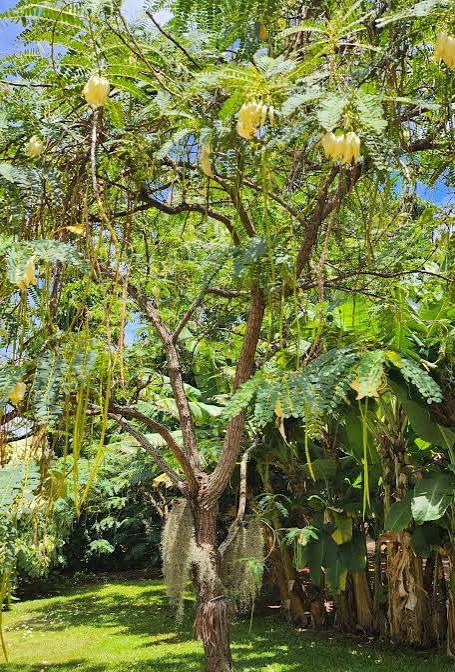
Moringa
Very fast growing tree with light, airy leaves that are edible and packed with nutrients. Loves heat and full sun. It's frost tender, so it may die back in a hard freeze, but it regrows quickly in spring.

Chinese Elm
Fast growing, semi evergreen shade tree with a wide, graceful canopy, 40 to 50 feet. Handles full west sun and does well in a lawn. The bark gets a pretty mottled look as it matures.
When you plant it, follow the steps in the Planting new trees above grade section further down. Getting that right at planting is the single biggest thing you can do for its long term health.
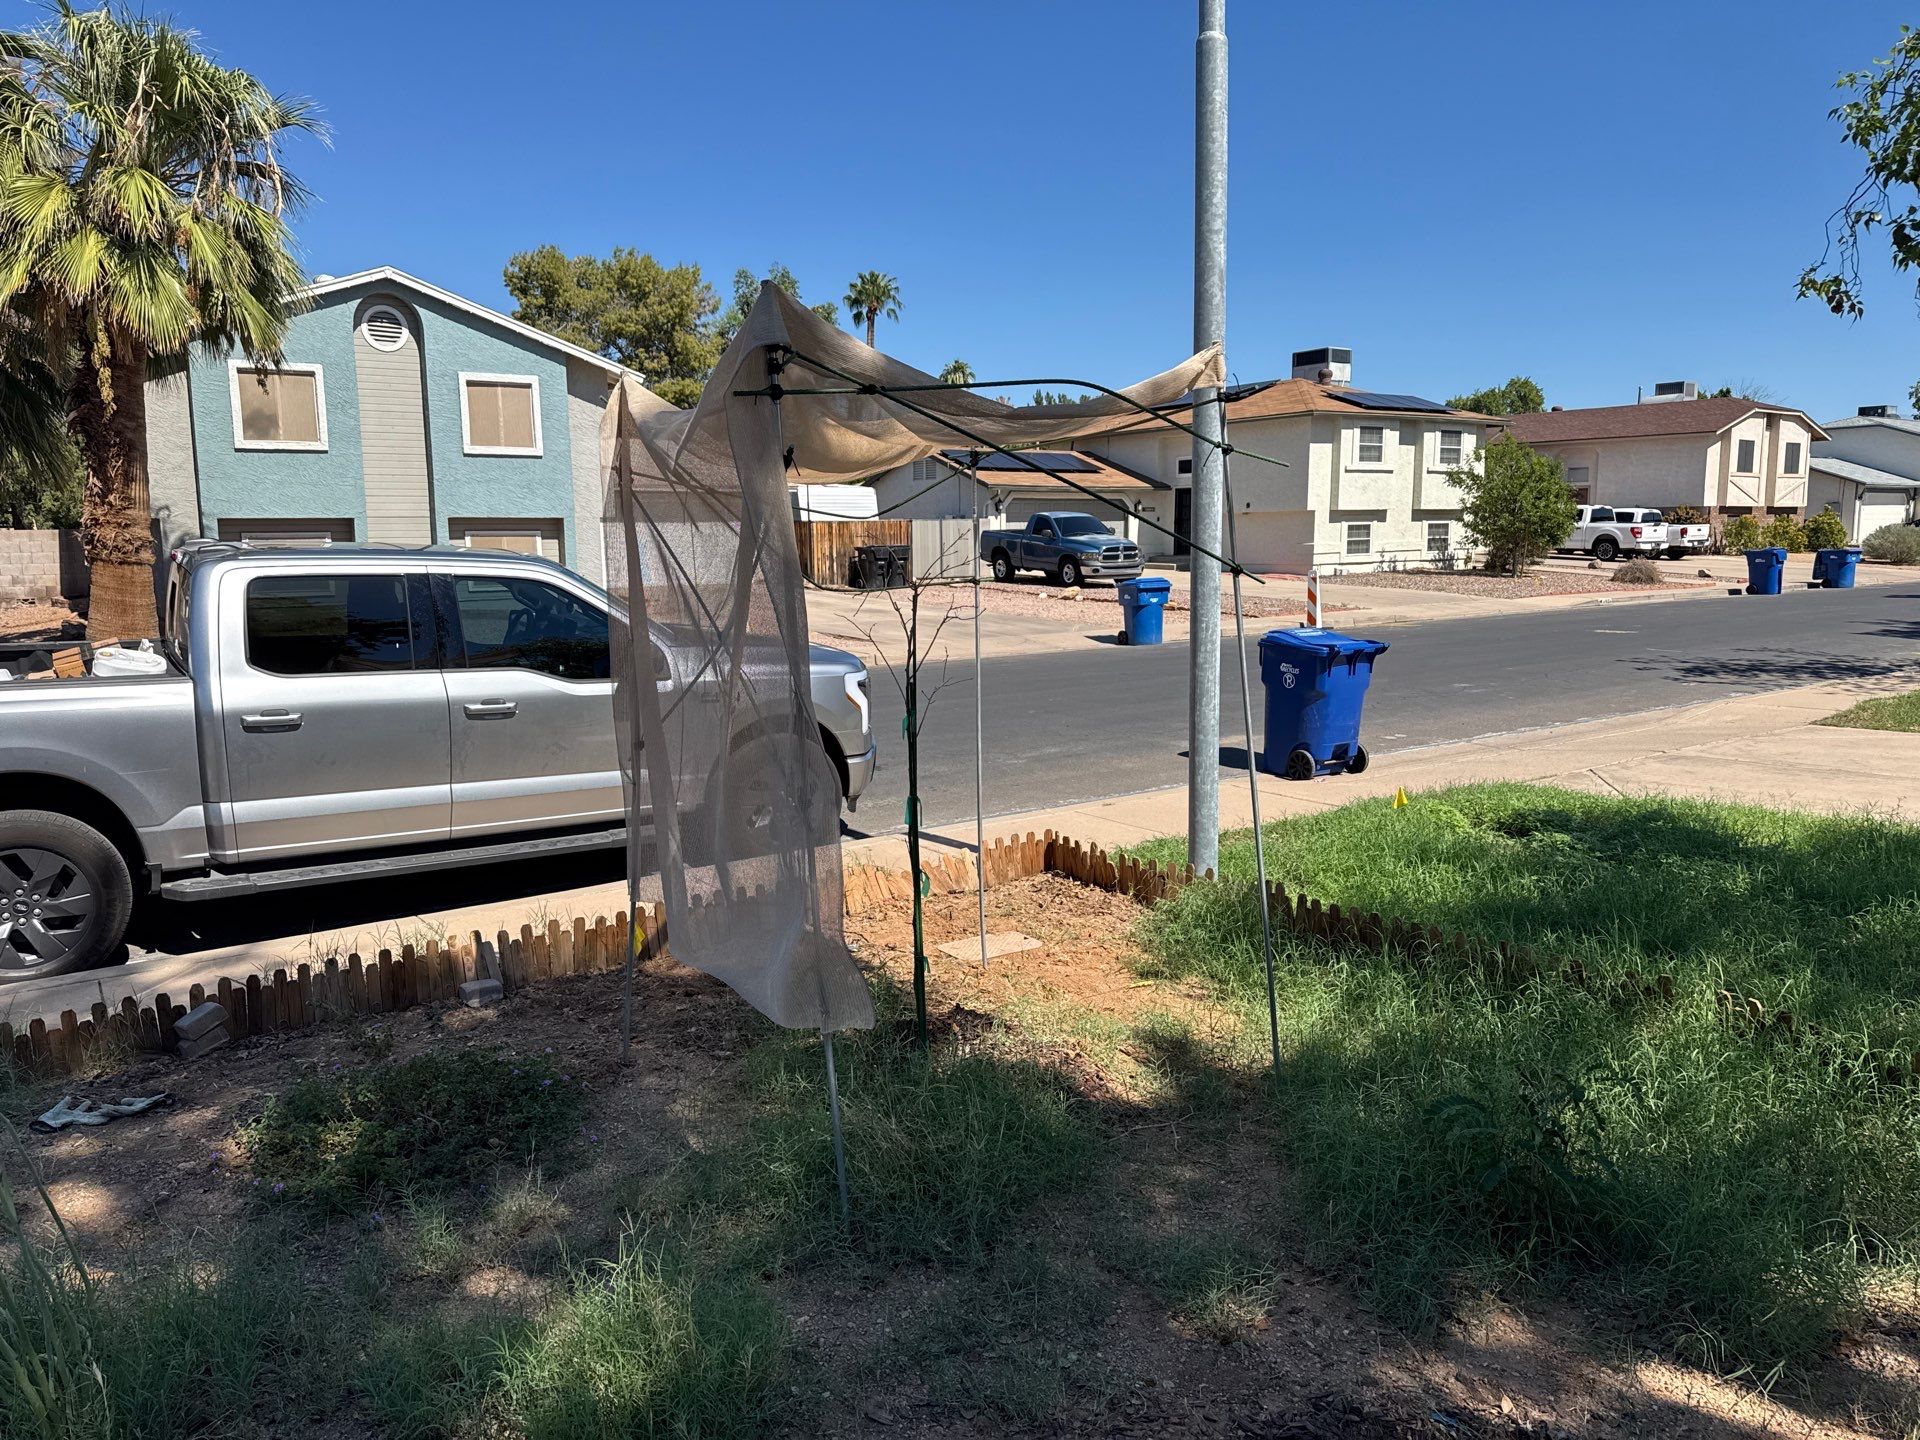
What to plant once the microclimate is in
Once the shade tree is in and growing, the east side of it becomes a protected spot. Plants there get morning sun and shade through the hot afternoon. That's where you can start planting the things that struggle out in the open, like the persimmon you tried before.
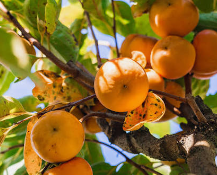
Persimmon
Beautiful small fruit tree, 15 to 20 feet, with orange fruit in fall and great fall color. Struggles in full west sun on its own, but does well tucked in on the east side of a bigger tree where it gets morning sun and afternoon shade.

Mango
Tropical fruit tree that does well here with afternoon shade and cold protection. Seedling grown trees tend to be tougher than grafted ones in our heat. Cover it on frosty nights for the first few winters.

Banana
Big tropical leaves that add a lush look fast. Does best in a protected spot with afternoon shade, regular water, and lots of compost. Frost will burn the leaves back, but it regrows from the base.
- Give the shade tree a season or two to get some size before you plant these. The more shade it casts, the better they'll do.
- Plant them a good 8 to 10 feet out from the trunk of the shade tree so they're under the edge of the canopy, not right up against it.
- Mangos and bananas need frost protection their first few winters. Keep frost cloth handy.
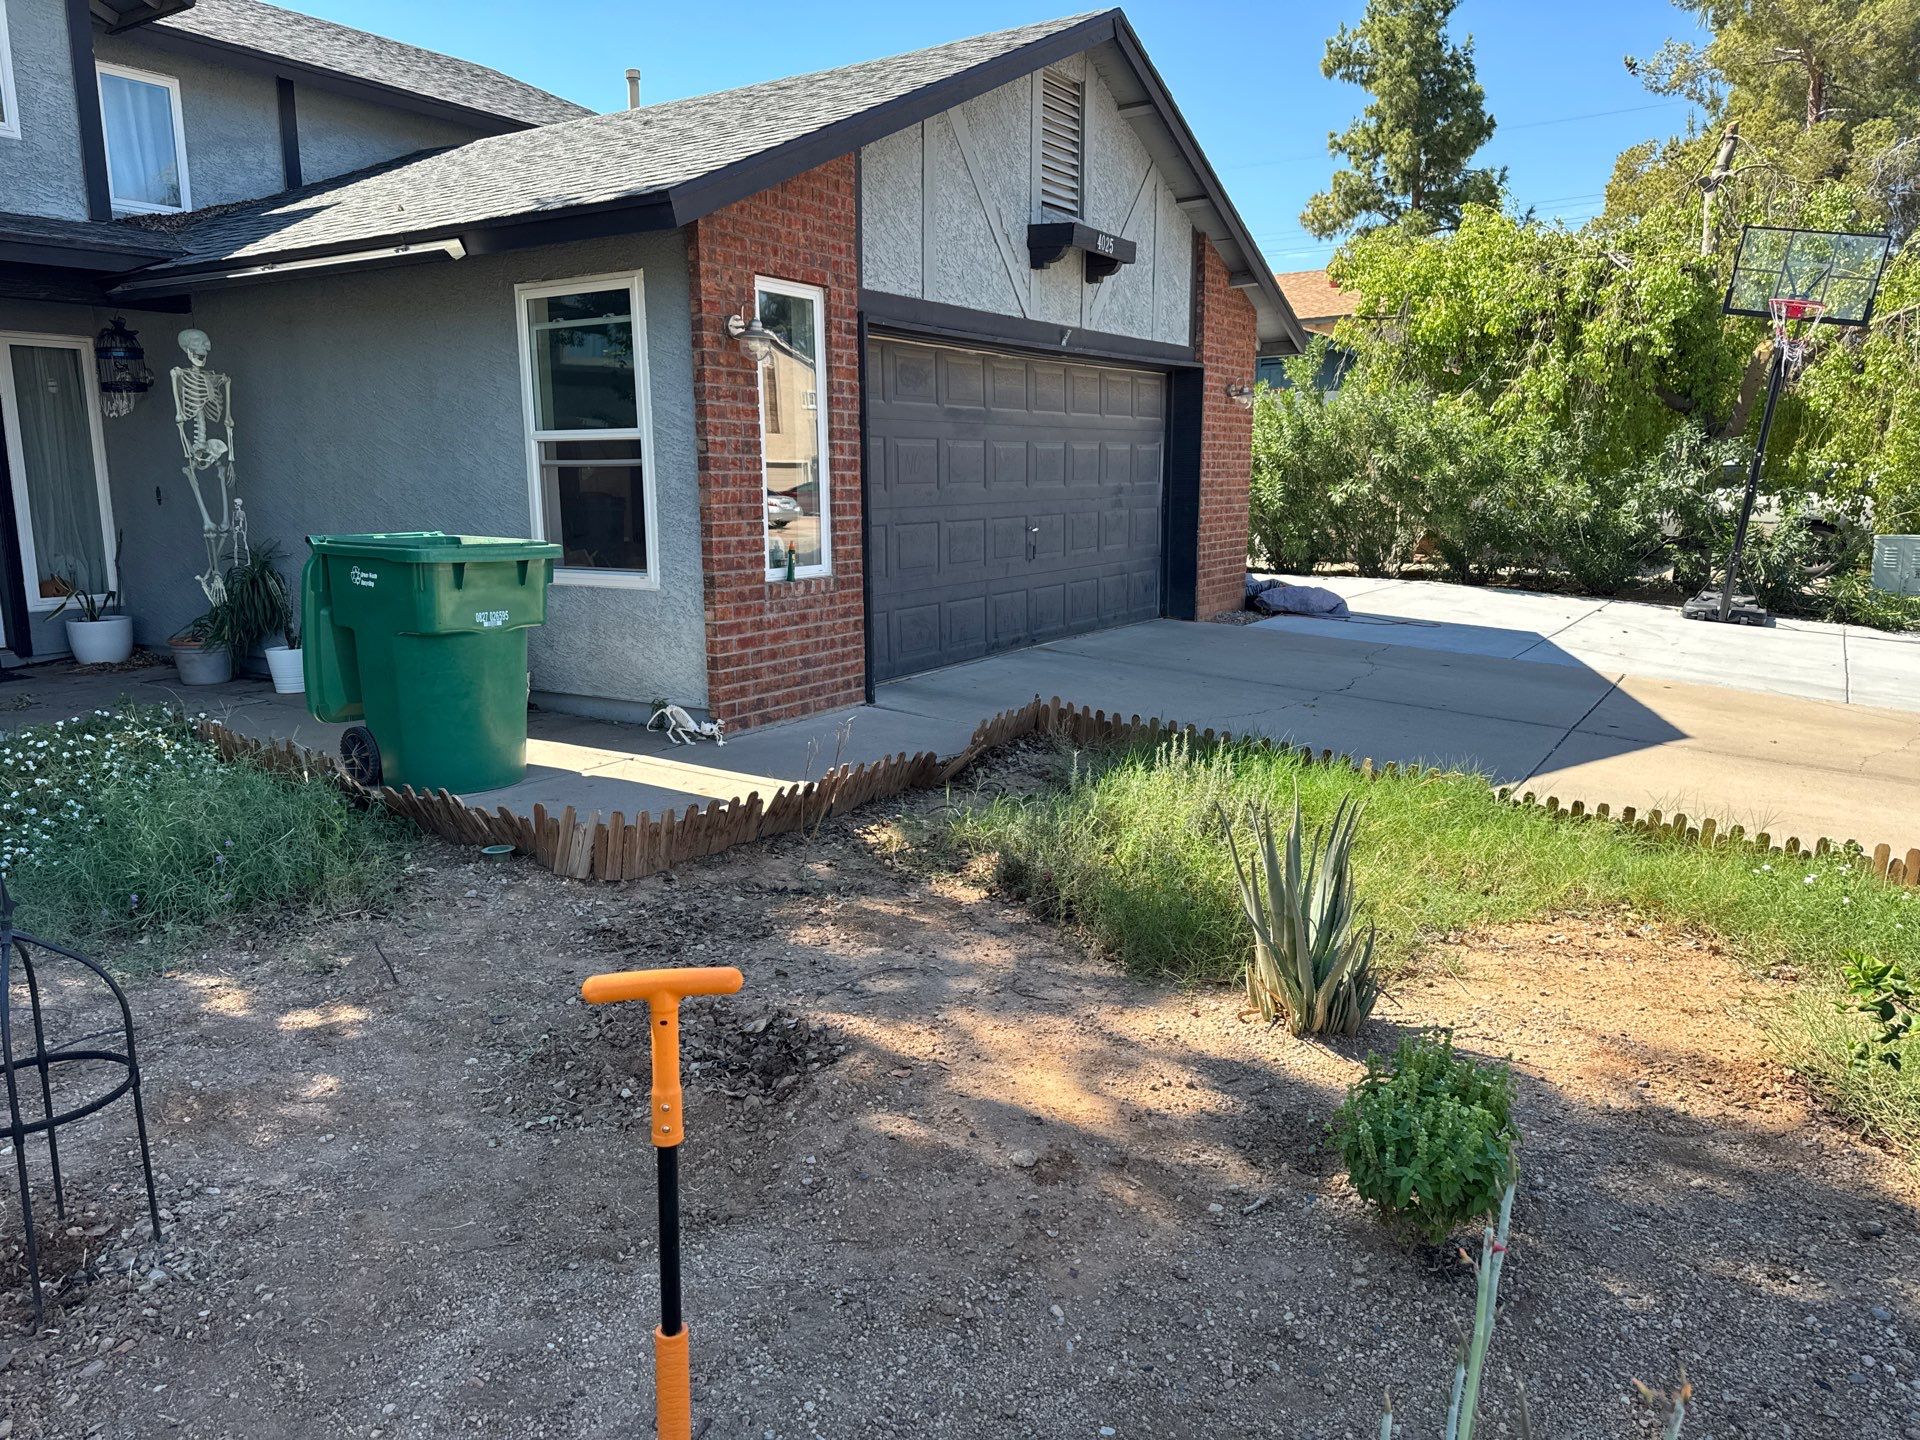
Barbados cherry and guava to start the microclimate on the west side
All around the yard, but especially on the west side where it gets blasted with afternoon sun, you can start planting things that build the microclimate on their own. Barbados cherry and guava are two great ones. Both can take the full sun, both grow into full shrubs that start shading the ground, and both are edible.
Plant two or three of them around the front yard to start shading things out and cooling the ground.
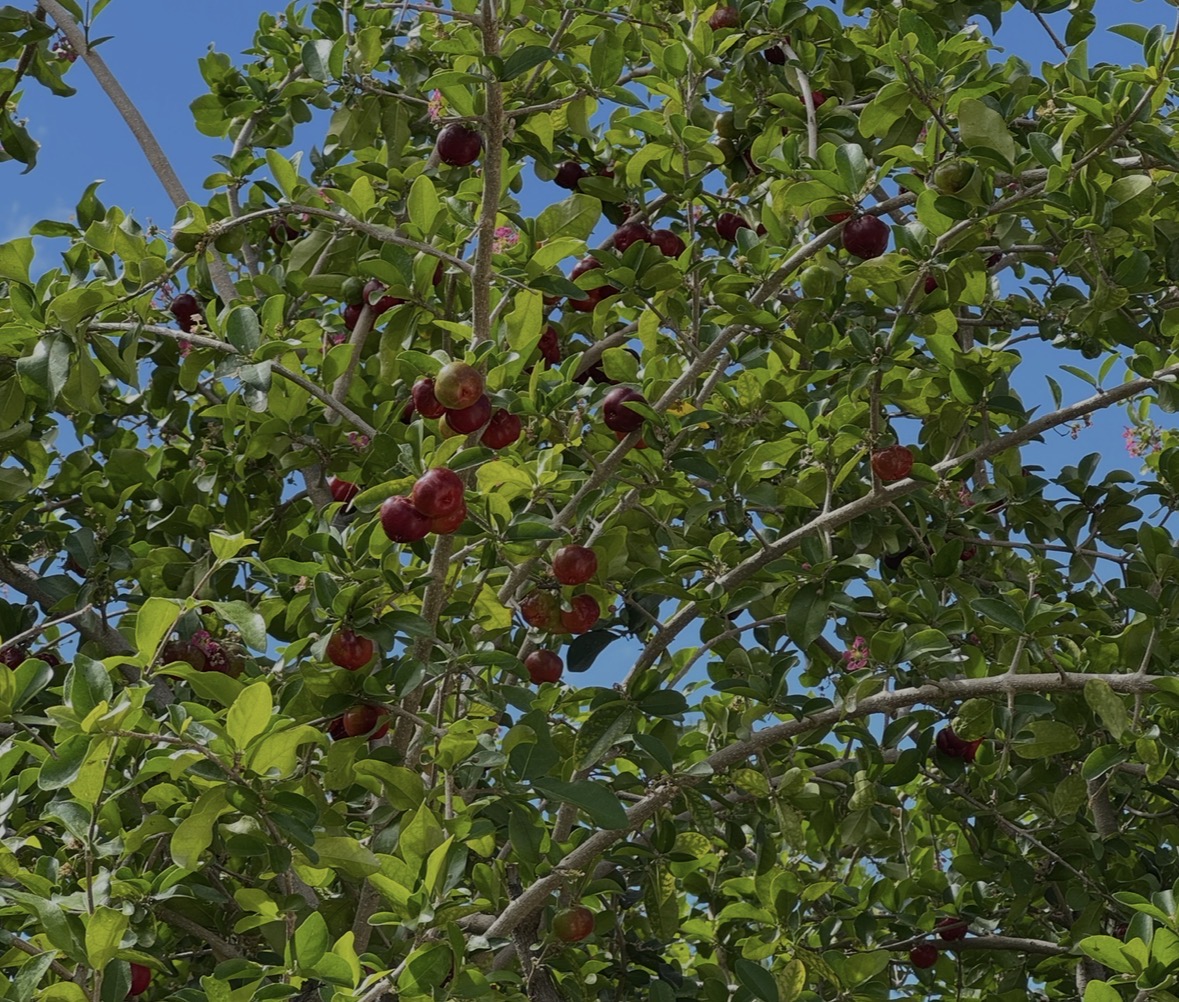
Barbados Cherry
Shrub, 6 to 10 feet, with glossy green leaves, small pink flowers, and bright red, tangy cherries loaded with vitamin C, several crops a year. Loves full sun, including hot afternoon sun. Protect it on frosty nights while it's young.

Guava
Tropical shrub or small tree, 10 to 15 feet, with fragrant fruit in late summer and fall. Takes full sun and fills in fast, so it helps shade the ground and build the microclimate. Needs frost protection while it's young.
- Space them 6 to 8 feet apart so they can grow into full, rounded shrubs.
- Backfill with native soil plus a tiny bit of compost, lay compost on top, then mulch, a foot back from the base.
- Cover them on frosty nights for the first couple of winters.
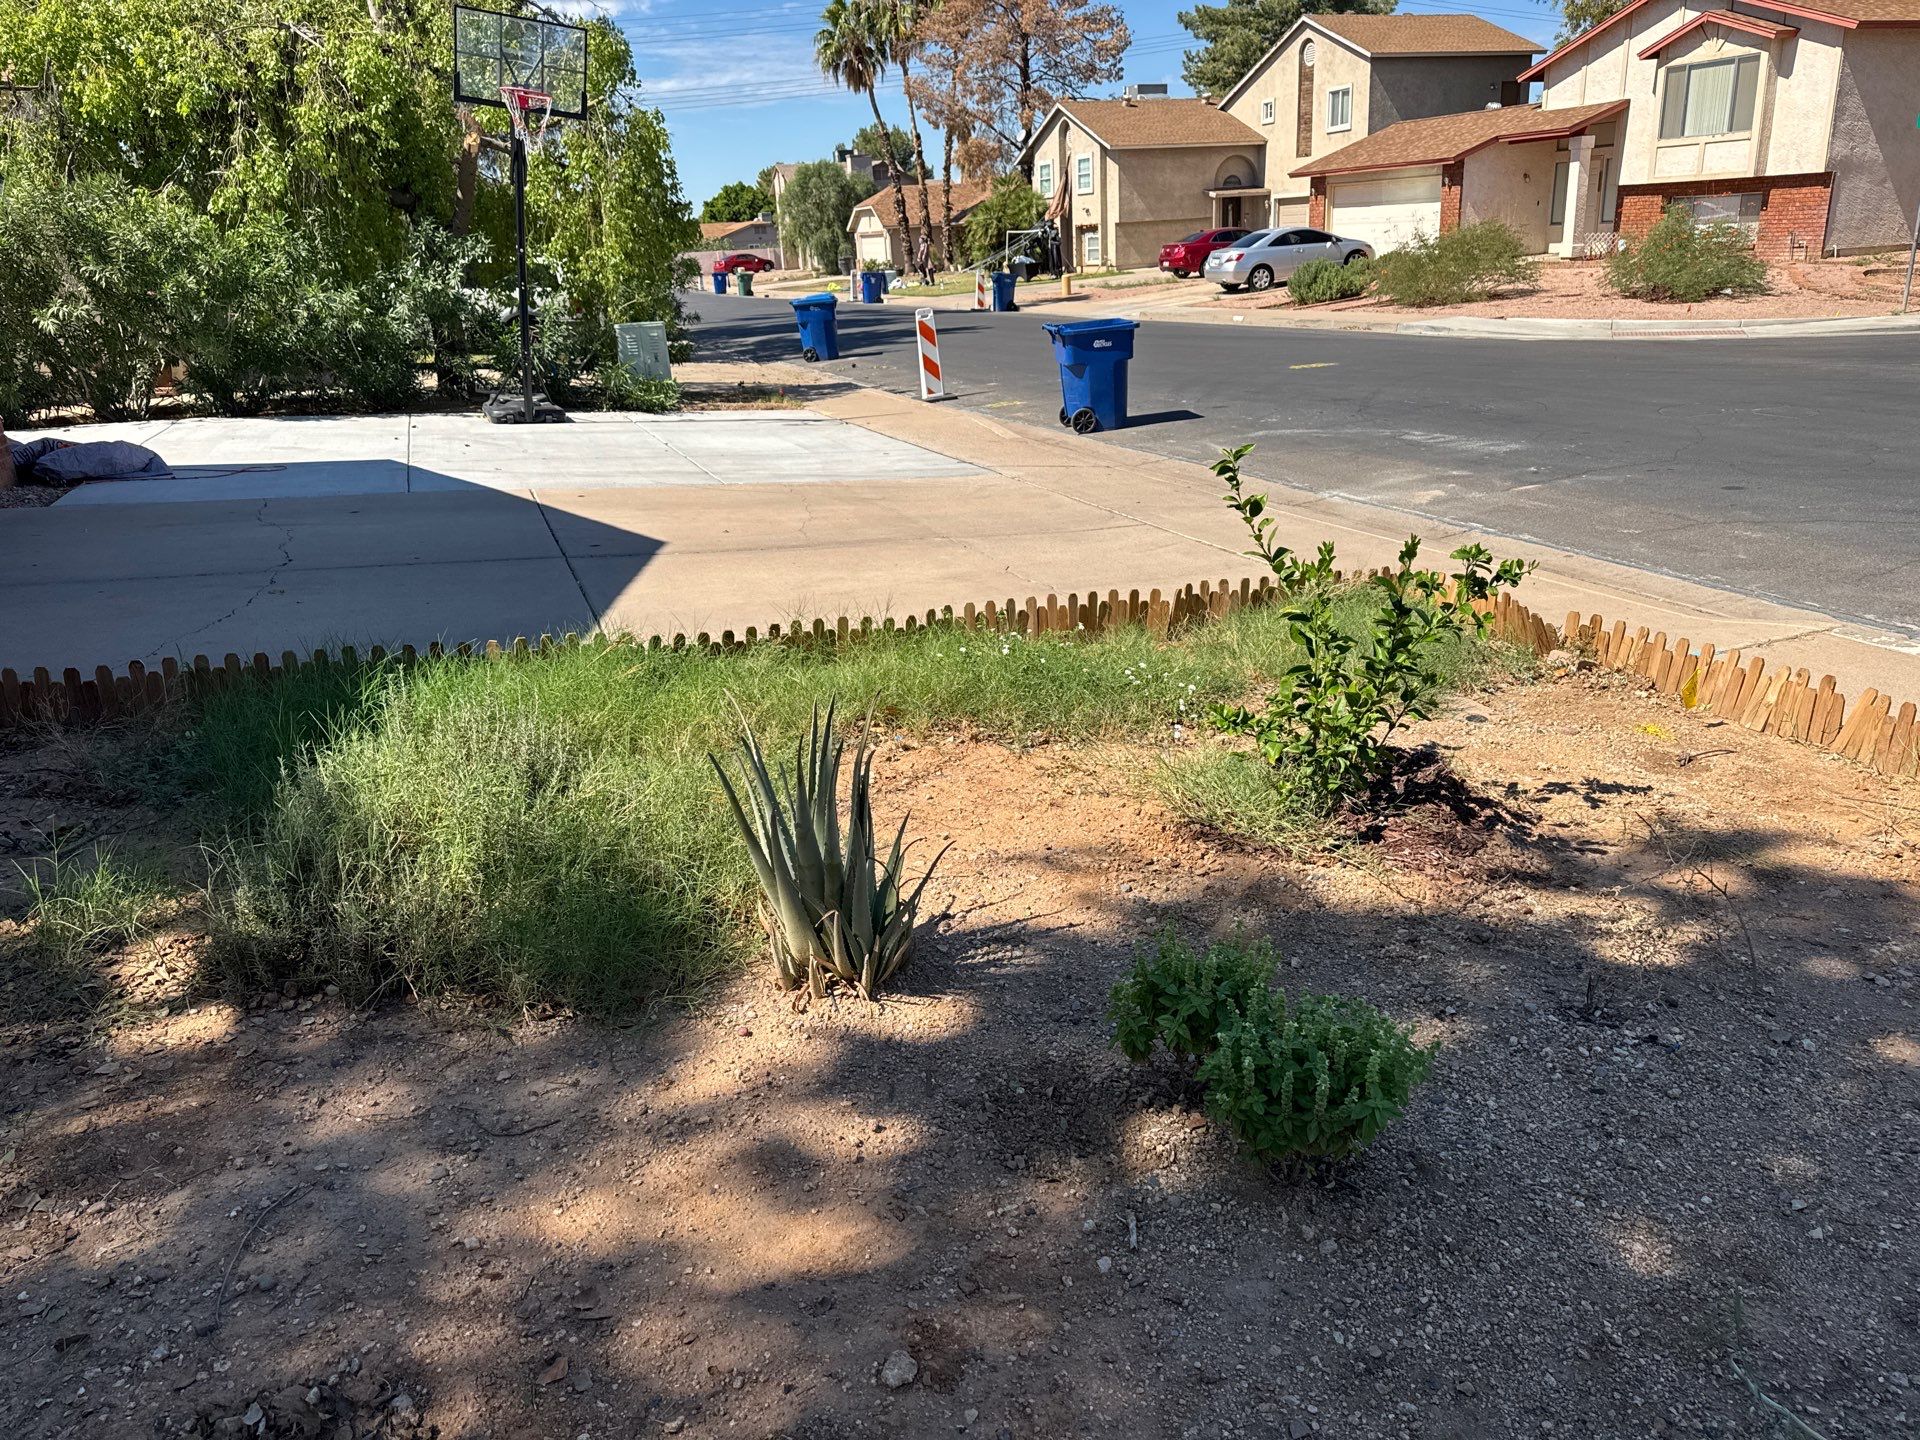
A pollinator garden around the front
For the pollinator garden around the perimeter of the front yard, desert milkweed, Gregg's mistflower, chuparosa, and globe mallow are all great choices. Together they keep something blooming almost all year and bring in butterflies, hummingbirds, and native bees. I've added a couple more that fit well too.

Desert Milkweed
Native, upright gray green stems with cream colored flowers, 3 to 4 feet. A host plant for monarch and queen butterflies, which lay their eggs on it.
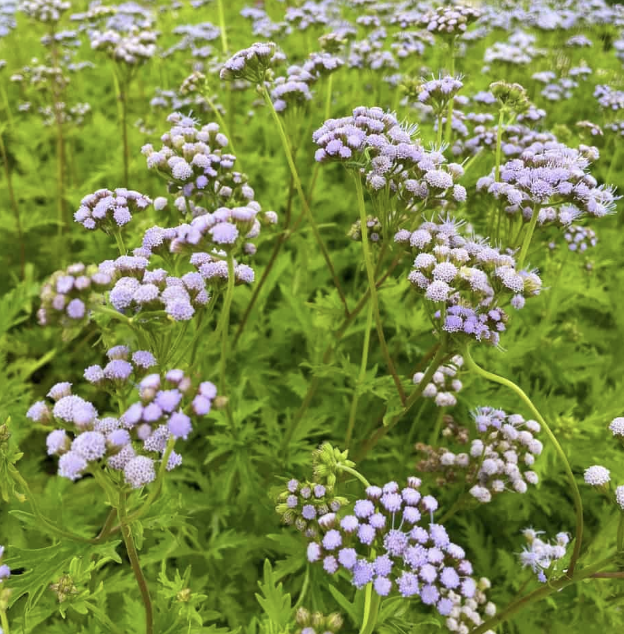
Gregg's Mistflower
Soft, mounding native covered in fuzzy purple flowers spring through fall. Butterflies absolutely swarm it. Spreads over time, so give it room.
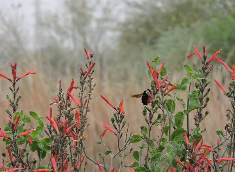
Chuparosa
Native with green stems and red tubular flowers through winter and spring. A hummingbird favorite when little else is blooming.

Globe Mallow
Native with silvery leaves and cup shaped orange flowers in spring. Native bees love it. Reseeds lightly, so it fills in naturally.
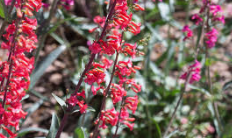
Penstemon
Tall flower spikes in red, pink, or purple in spring. Hummingbirds and native bees love it. Plant in fall for spring blooms.
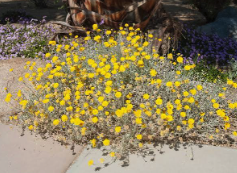
Desert Marigold
Low mound of gray leaves with bright yellow daisies most of the year. Reseeds itself and keeps color going along the edges.
- Plant these in the ground, not in raised beds or pots. They're permanent perennials, and some of them spread and will take over a bed.
- Group them in clusters of three or more of each kind. Pollinators find big patches of one plant much more easily than single plants scattered around.
- Fall is the best time to plant them. They'll root in over winter and bloom hard in spring.
- Skip any pesticides in this area. Caterpillars eating your milkweed are a good sign. That's what it's there for.
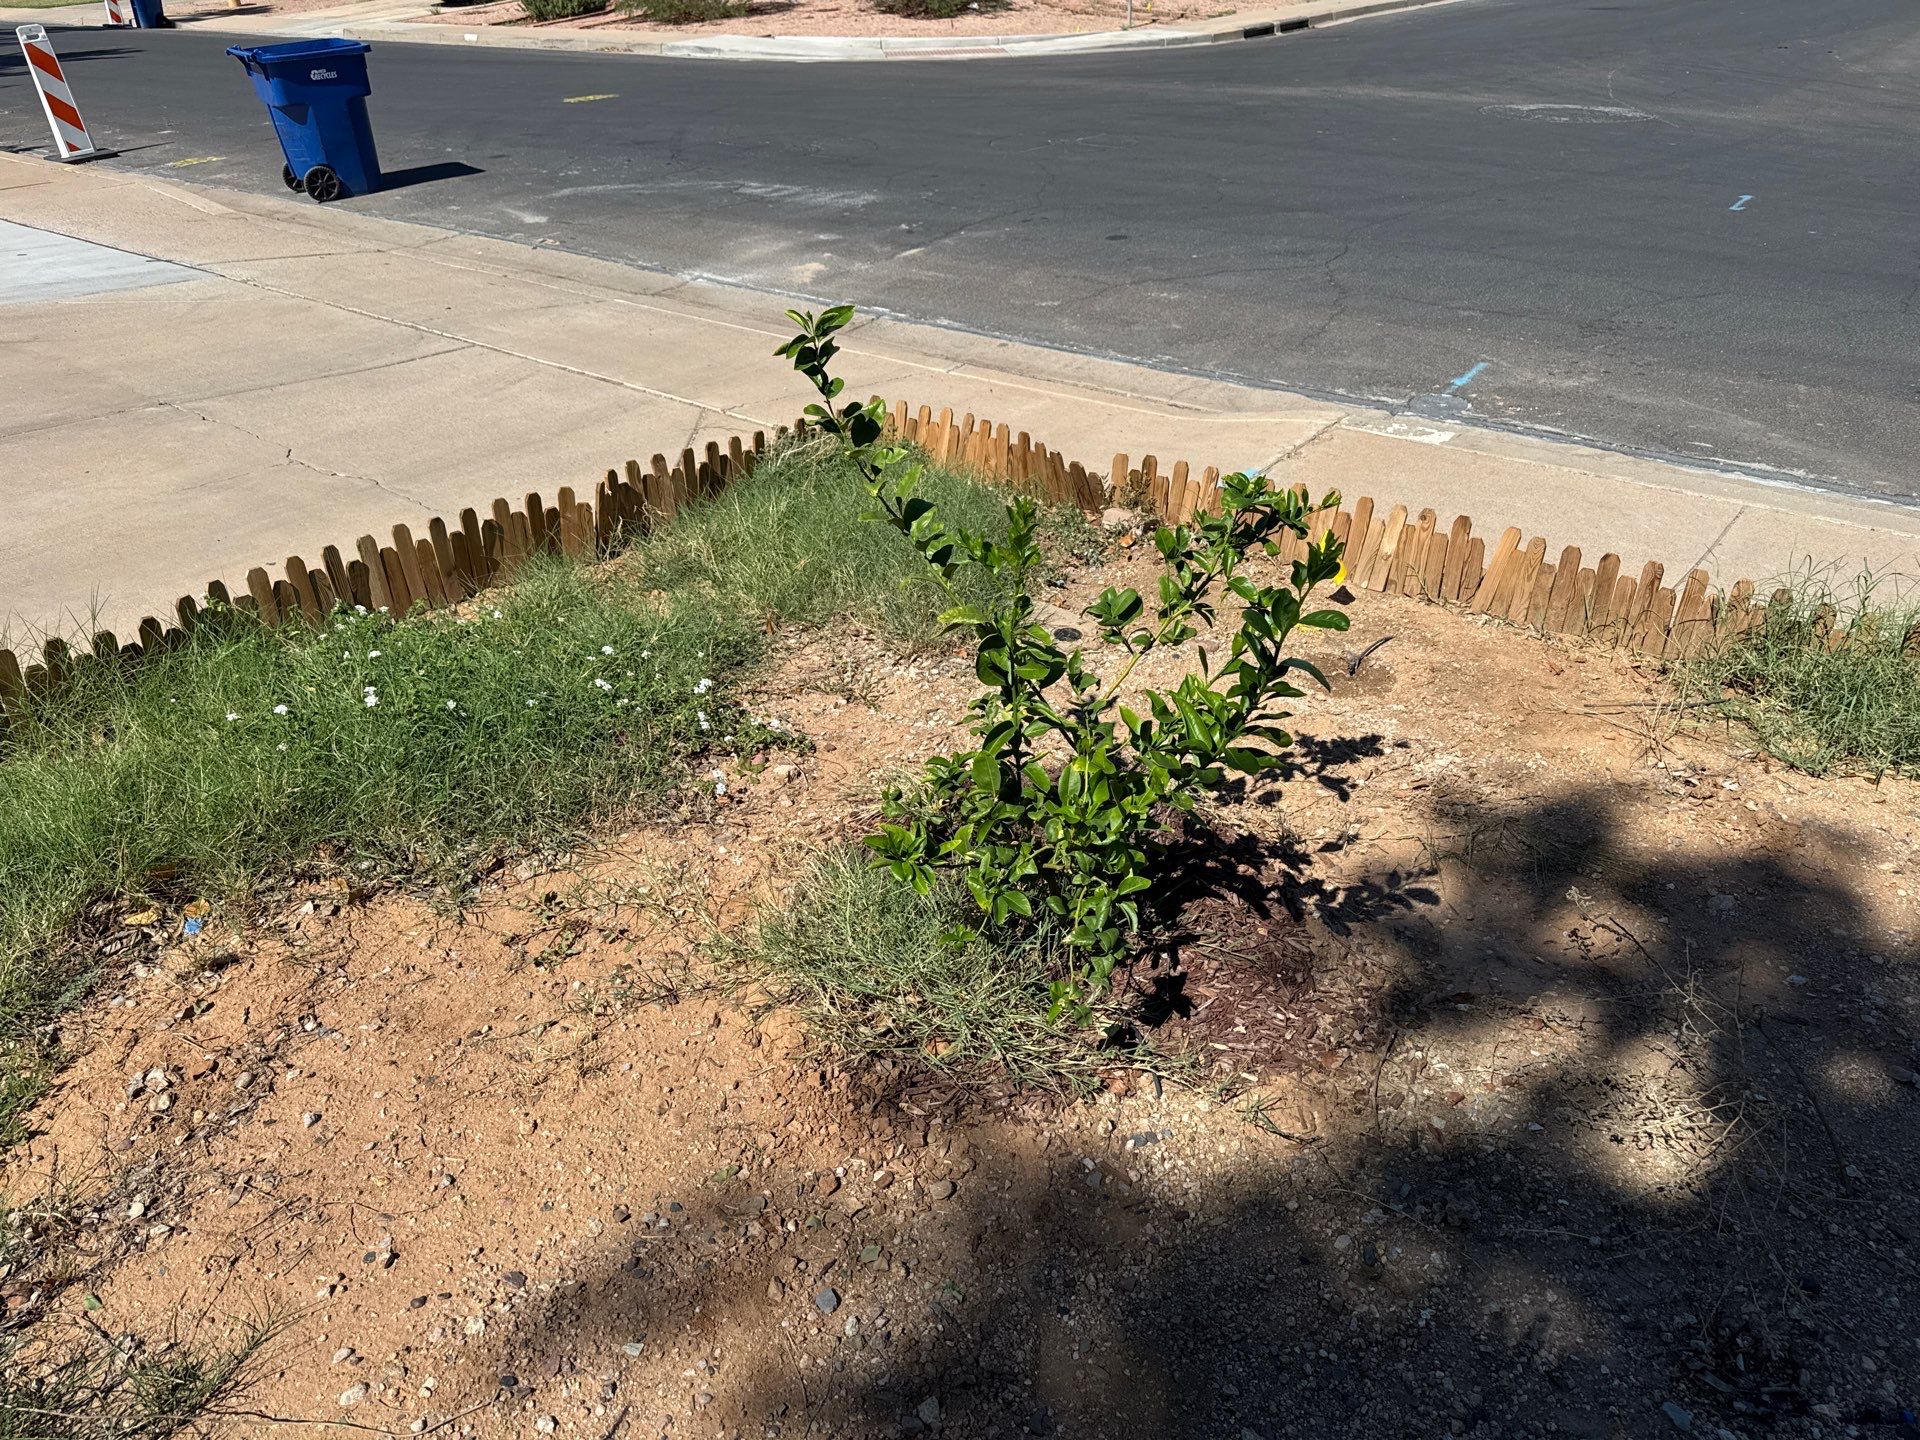
The lemon tree: wider water well and expose the root flare
The lemon looks okay right now, but it needs a wider water well, the mulch pulled away from the trunk, and the root flare exposed.
The root flare is where the trunk widens out into the roots. When soil or mulch sits up against it, the bark stays wet, rots, and invites roots to circle and girdle the trunk. Citrus are especially sensitive to this. It's one of the most common reasons citrus slowly decline. This video shows why it matters, with real examples.
Can't see the video? Watch it on YouTube.
Exposing the root flare
- Pull all the mulch back at least a foot from the trunk.
- Use a strong stream of water from a hose to blast the soil away from the base of the trunk, then follow up with a hand trowel or your fingers.
- Keep going until you see the trunk widen out and the first big roots heading sideways. Leave that flare sitting at or just above the surrounding ground.
- Slope the soil gently away from the trunk so water drains away from it. Don't fill it back in.
The wider water well
- Pull the grass, rock, or old mulch back in a wide circle around the tree, at least 3 to 4 feet out from the trunk, and farther as the tree grows. The well should reach out to the edge of the canopy.
- Use the soil to build a low ring a few inches tall around the outside edge. That holds water over the roots so it soaks down instead of running off.
- Spread an inch or two of compost inside the well, then 3 to 4 inches of mulch over it, holding both a foot back from the trunk.
- Water deeply and less often: fill the well slowly, or set a hose on a slow trickle for a few hours, so the water soaks 2 to 3 feet down. Then let the top few inches dry before the next one.
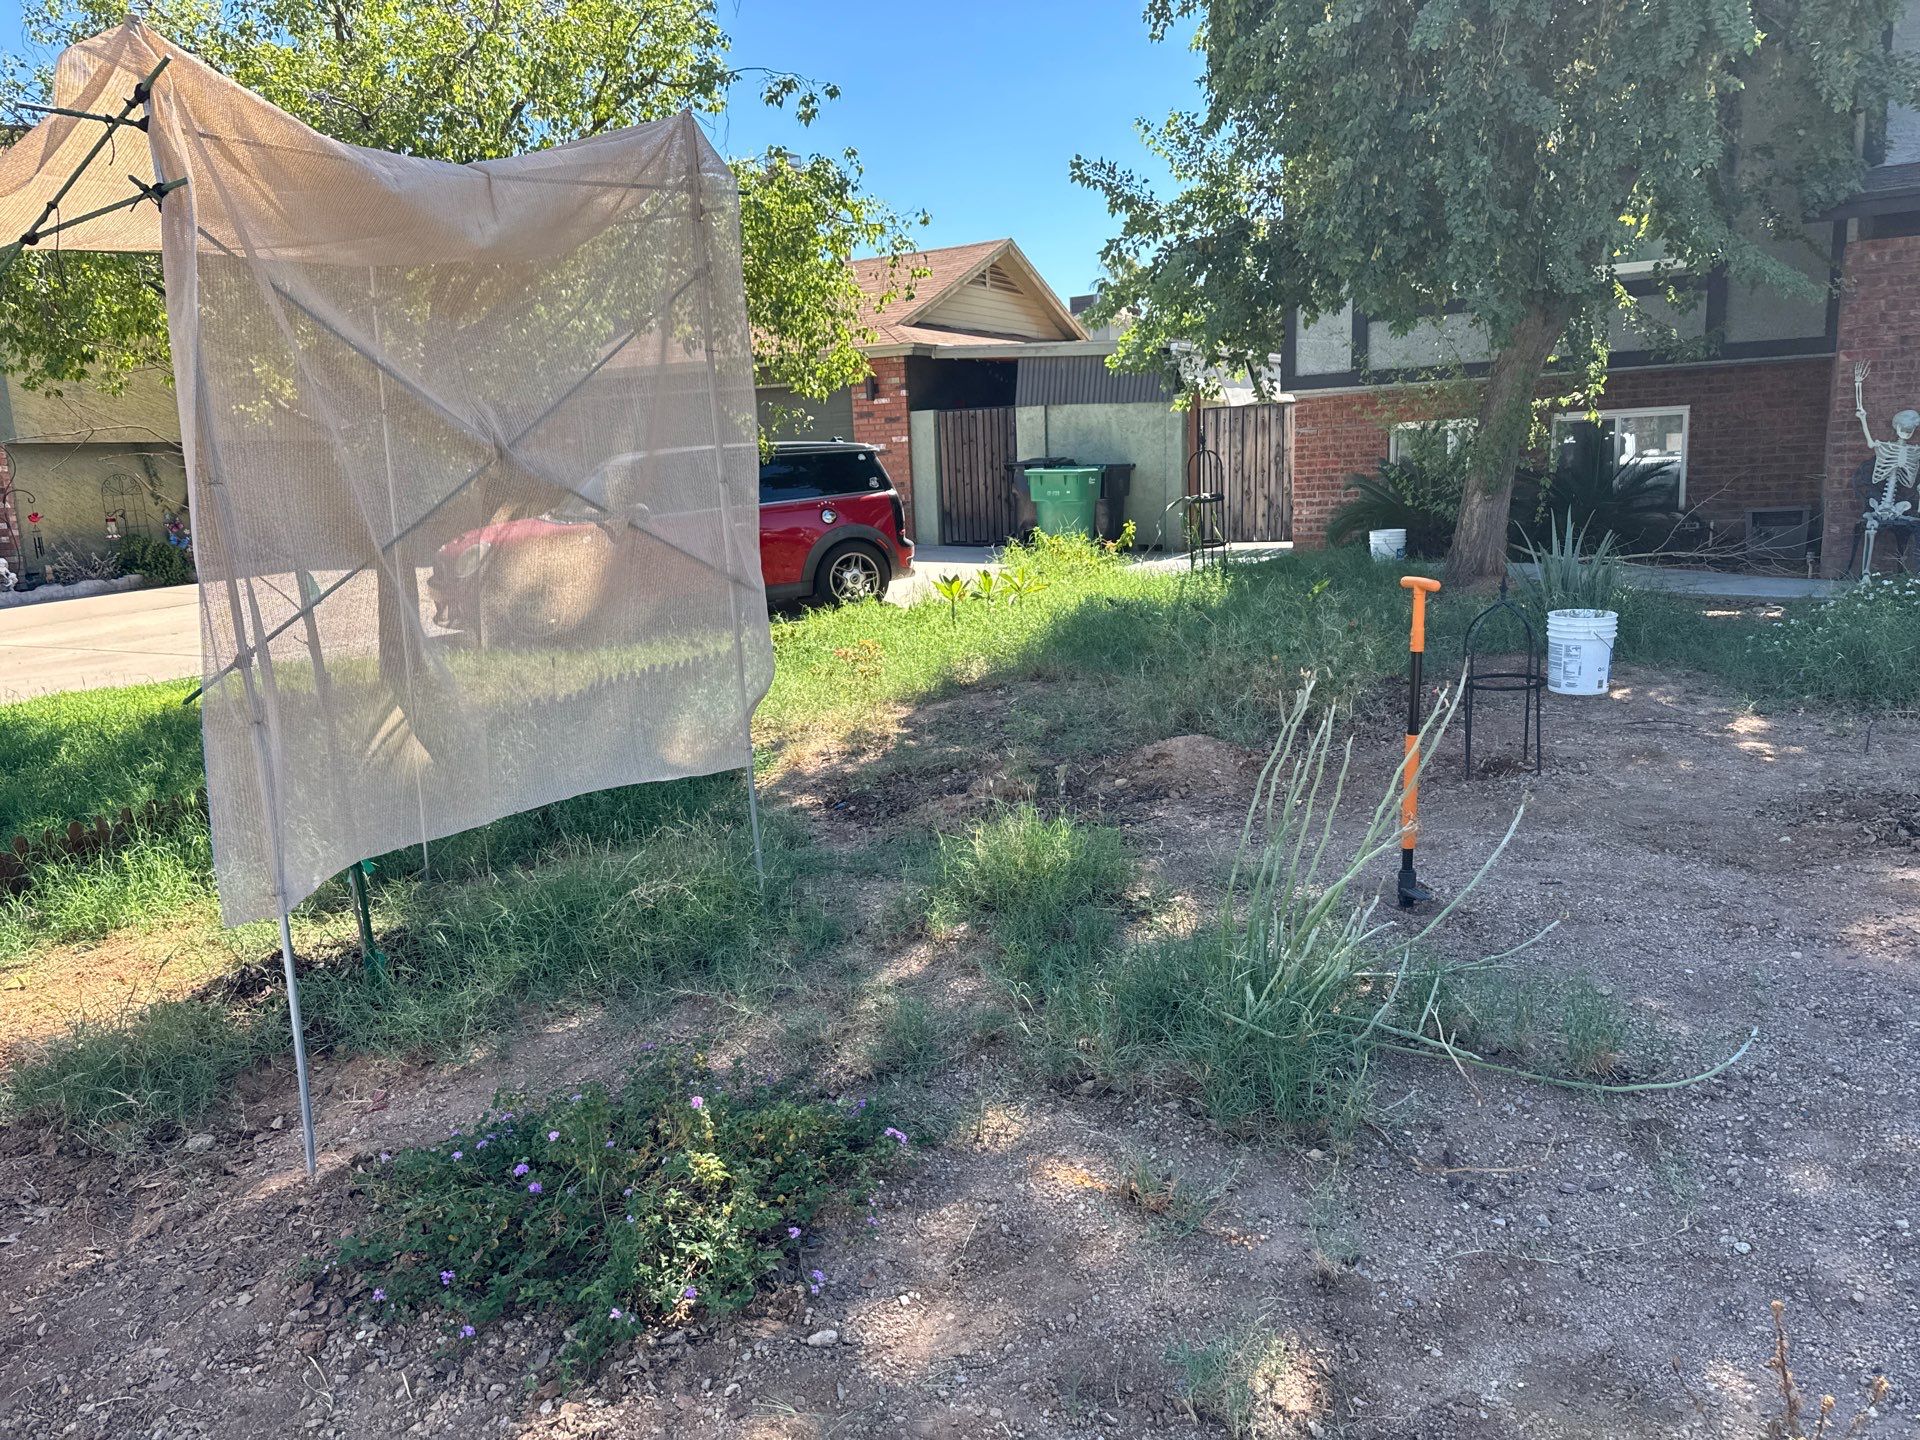
More edibles that can take the afternoon sun
Here are some other edibles that can handle this orientation and the hot afternoon sun, so you have more options beyond the Barbados cherry and guava.
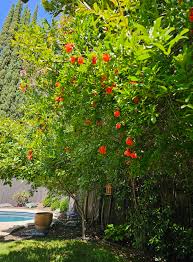
Pomegranate (Parfianka)
Loves full sun and heat and takes less water than plants that aren't desert adapted. Can be grown as a large shrub or small tree. Parfianka has soft, sweet seeds and handles leaf footed bugs better than Wonderful here.

Fig
One of the easiest fruit trees in the Valley. Big leaves, fast growth, and two crops a year on many varieties. Takes full sun and heat with deep, infrequent watering and lots of mulch.
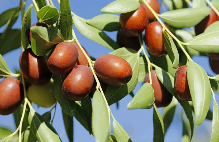
Jujube
Tough, deciduous fruit tree, 15 to 25 feet, that thrives in full sun and heat. Fruit tastes like an apple when crisp and a date when dried. Takes less water than plants that aren't desert adapted.
Moringa
Very fast growing tree with light, airy leaves that are edible and packed with nutrients. Loves heat and full sun. It's frost tender, so it may die back in a hard freeze, but it regrows quickly in spring.
Barbados Cherry
Shrub, 6 to 10 feet, with glossy green leaves, small pink flowers, and bright red, tangy cherries loaded with vitamin C, several crops a year. Loves full sun, including hot afternoon sun. Protect it on frosty nights while it's young.
These are all tough enough to go in before the shade tree has much size. They'll help build the microclimate right along with it.
The elm: root flare, girdling roots, and restaking
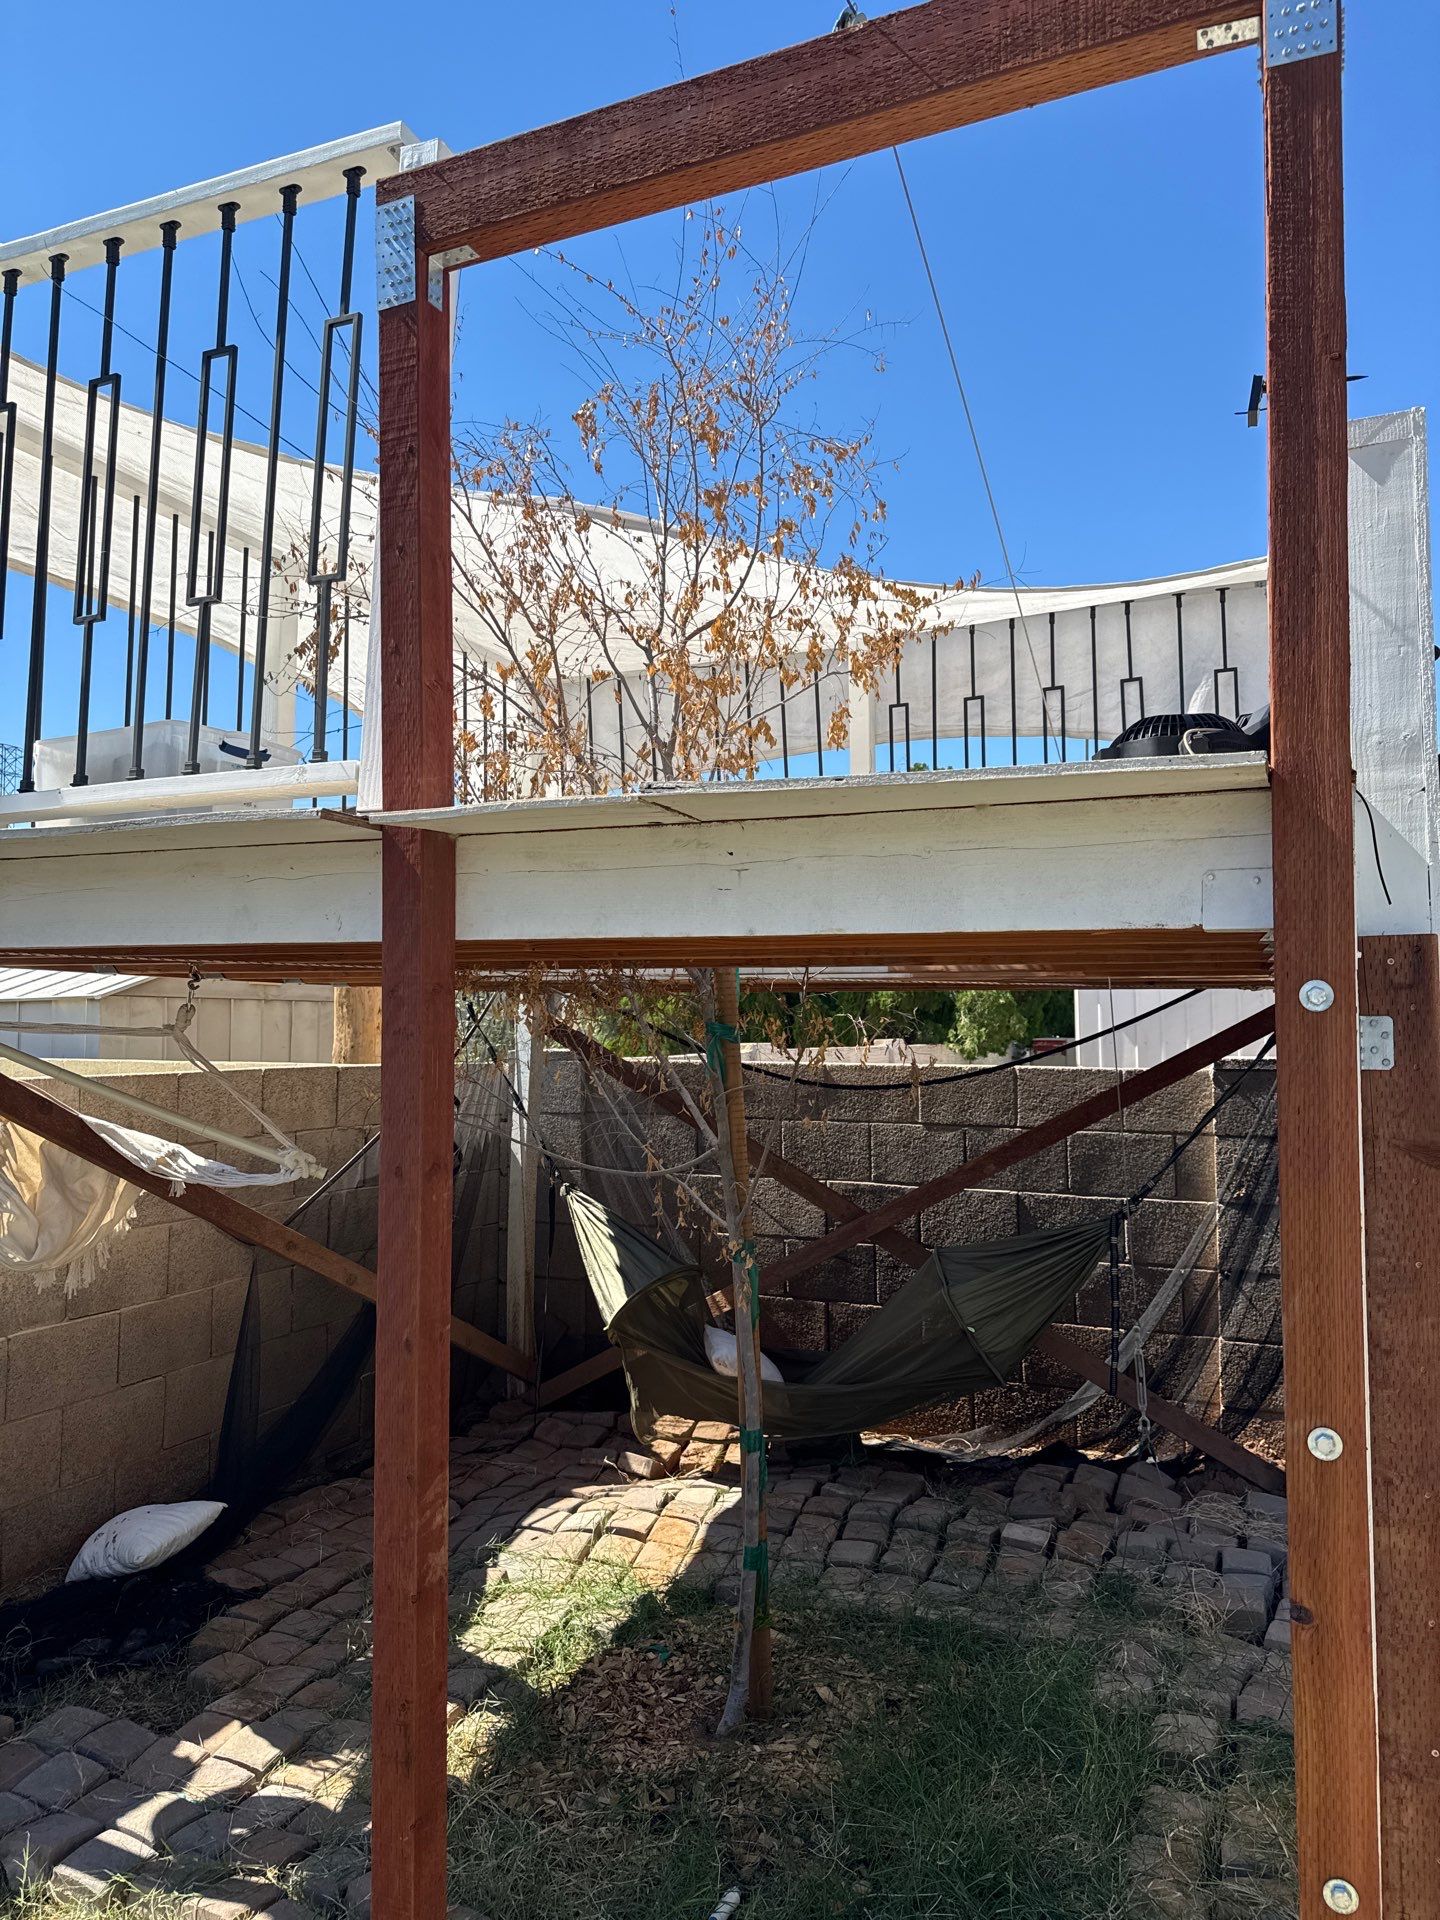
This elm is coming back. There's new growth, which is a good sign. Now let's help it along: expose the root flare and cut off the girdling roots, extend the water well, feed it with quality compost, give it deep soaks, and fix the staking.
Root flare and girdling roots
- Expose the root flare the same way as the lemon: pull the soil and mulch back and use a hose to clear down to where the trunk widens into the roots.
- Look for any roots wrapping around or pressing against the trunk. Those are girdling roots. As the tree grows, they choke it.
- Cut each one cleanly with a pruning saw or loppers where it leaves the main root, and pull the cut piece away from the trunk.
- If a girdling root is very thick, more than about a third the width of the trunk, have an arborist look at it before cutting. King's Tree Service is who I recommend.
Water well, compost, and deep water
Extend the water well out farther, to the edge of the canopy. Feed it with a generous layer of quality compost inside the well, then mulch over it. Water slowly and deeply so it soaks down through the whole root zone, then let the top few inches dry before the next watering.
Fix the staking
- Take off the single stake tied to the trunk. Right now it's acting as a crutch, and a trunk that can't move never builds the strength to stand on its own.
- Drive two stakes, one on each side of the tree, 12 to 18 inches out from the trunk and into firm soil outside the root ball.
- Use soft, flexible ties like rubber tree ties or strips of bike inner tube, looped in a figure eight from each stake to the trunk.
- Tie as low as you can while still holding it upright, so the top can sway a few inches. Pull the stakes after about a year.
A shade tree by the trampoline
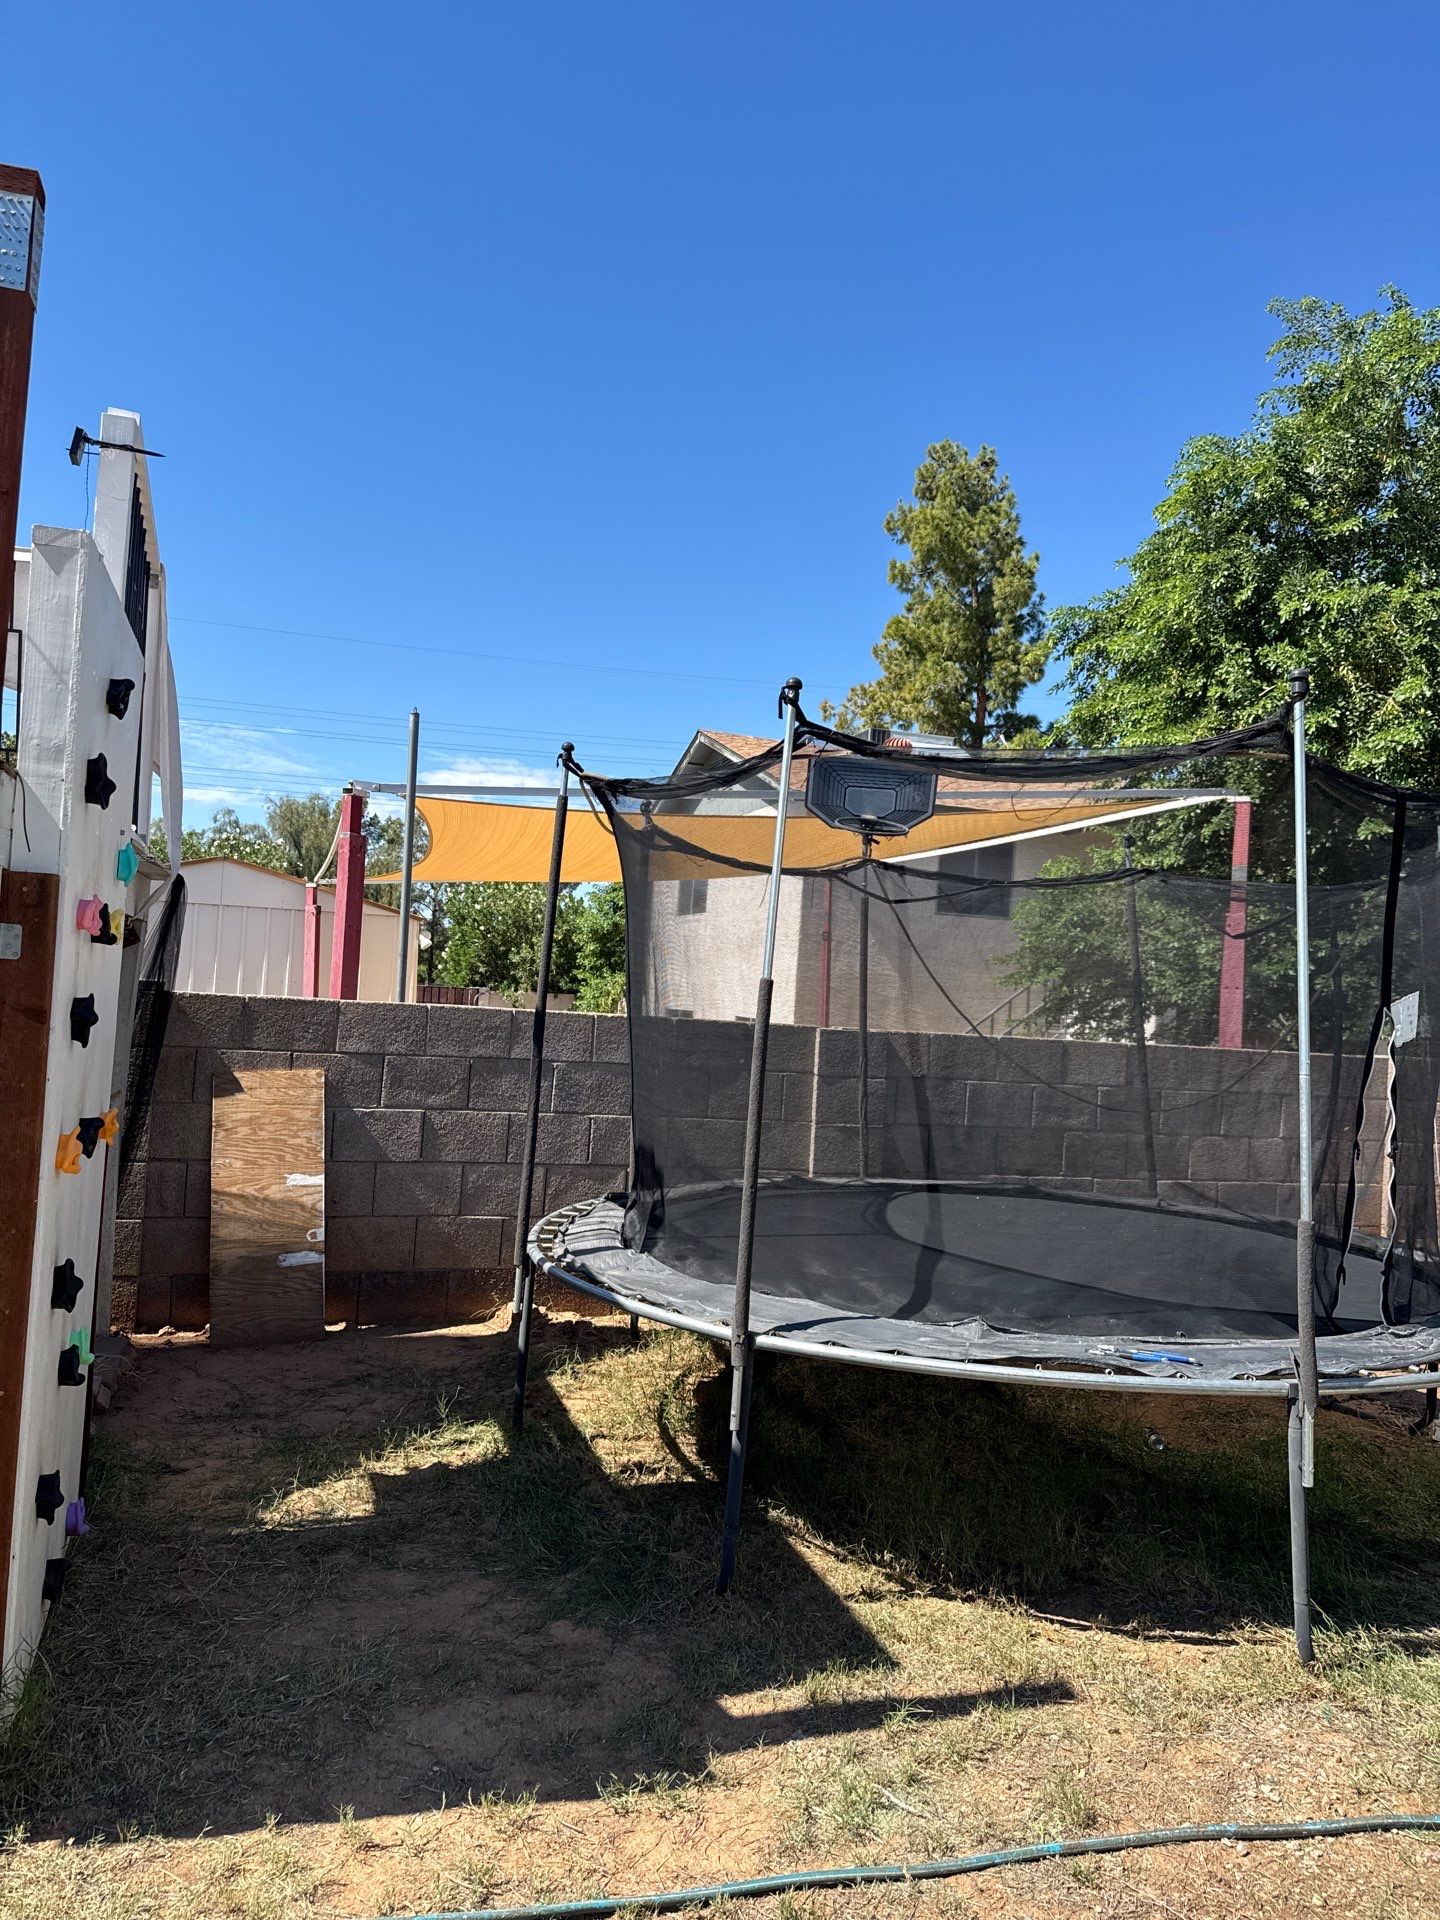
Right here by the trampoline, another Chinese elm would look the best. This side is west facing and gets blasted by the afternoon sun, so a tree here gives the yard and the kids real afternoon shade. Here are a few other options too.
Chinese Elm
Fast growing, semi evergreen shade tree with a wide, graceful canopy, 40 to 50 feet. Handles full west sun and does well in a lawn. The bark gets a pretty mottled look as it matures.
Red Push Pistache
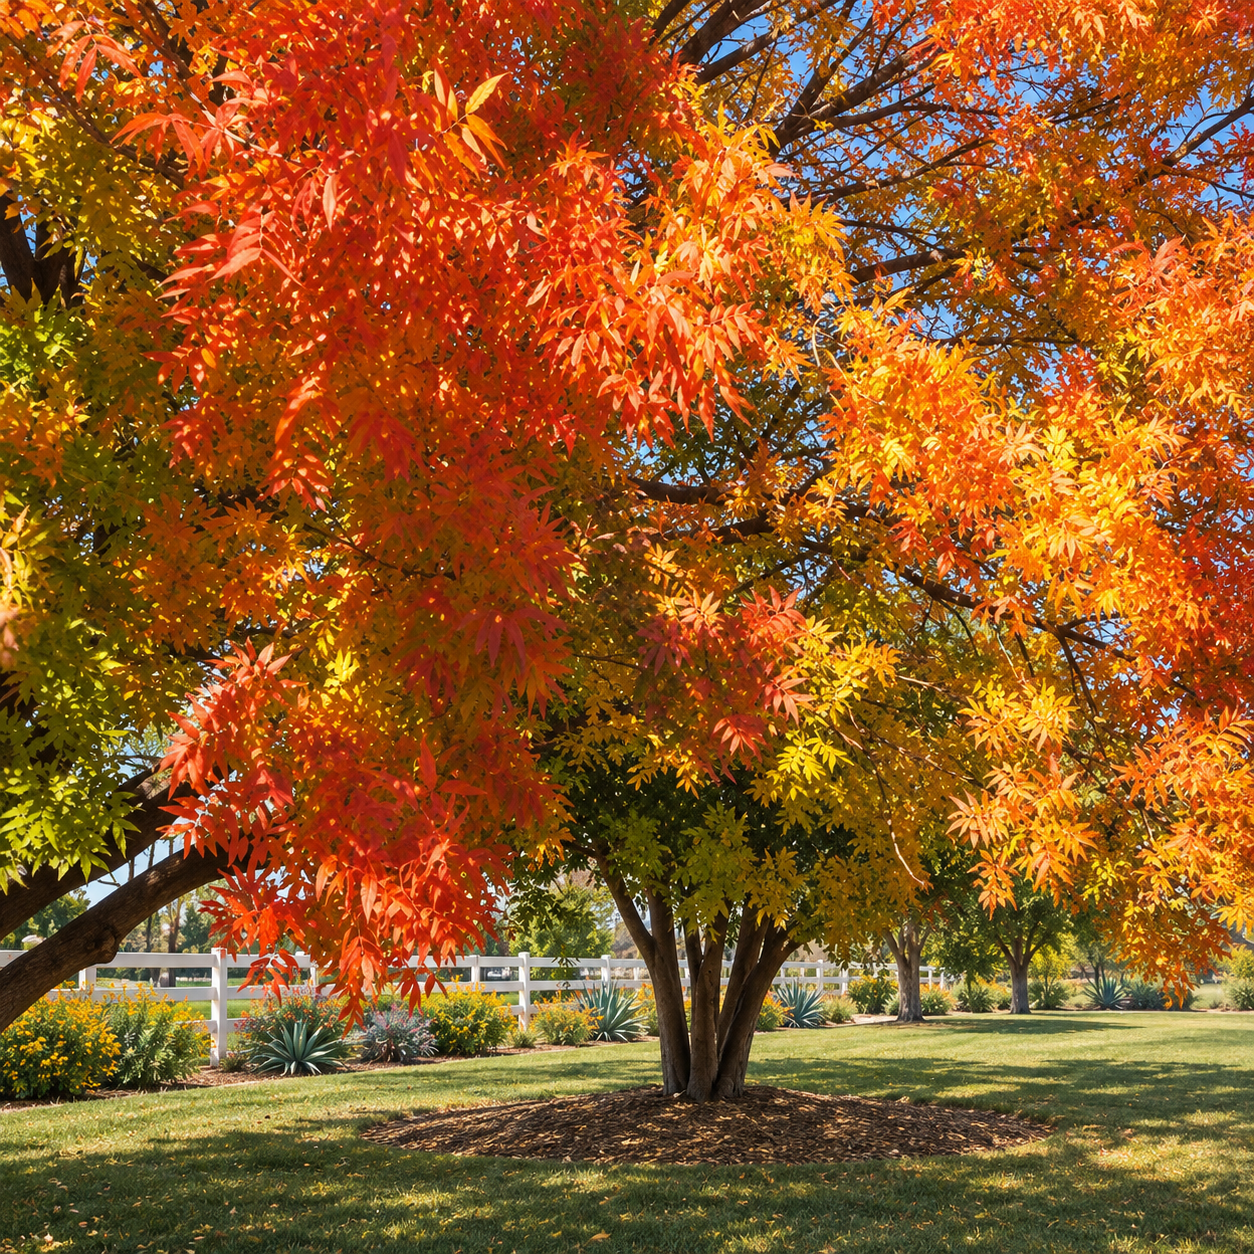
Medium shade tree, 25 to 40 feet, with red new growth in spring and great fall color. Handles full west sun and heat, does well in a lawn, and is low litter.
Tipu
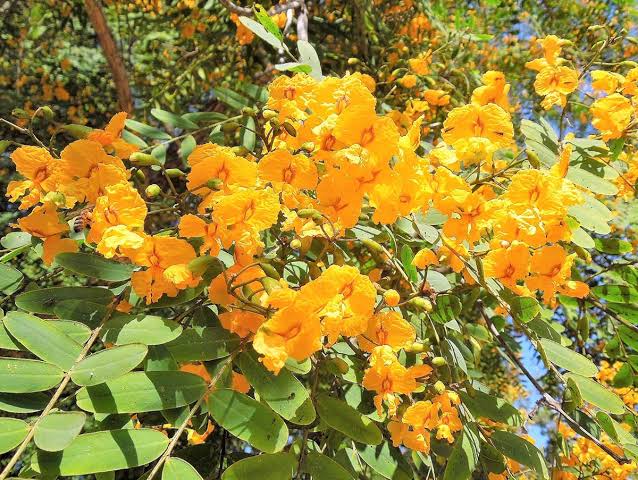
Fast growing shade tree with a wide umbrella canopy and yellow flowers in late spring, 30 to 50 feet. Gives serious shade fast. It drops some leaves and pods, which is fine out in the lawn.
Mulberry (fruiting)
Fast growing shade tree, 30 to 40 feet, with a big, dense canopy and sweet berries in spring. One of the fastest ways to get real shade and food at the same time. The berries stain, so plant it away from the driveway and walkways.
- Plant it on the west side of the area you want shaded, since the afternoon sun comes from that direction.
- Keep it at least 10 feet from the house and the block wall.
When you plant it, follow the steps in the Planting new trees above grade section further down. Getting that right at planting is the single biggest thing you can do for its long term health.
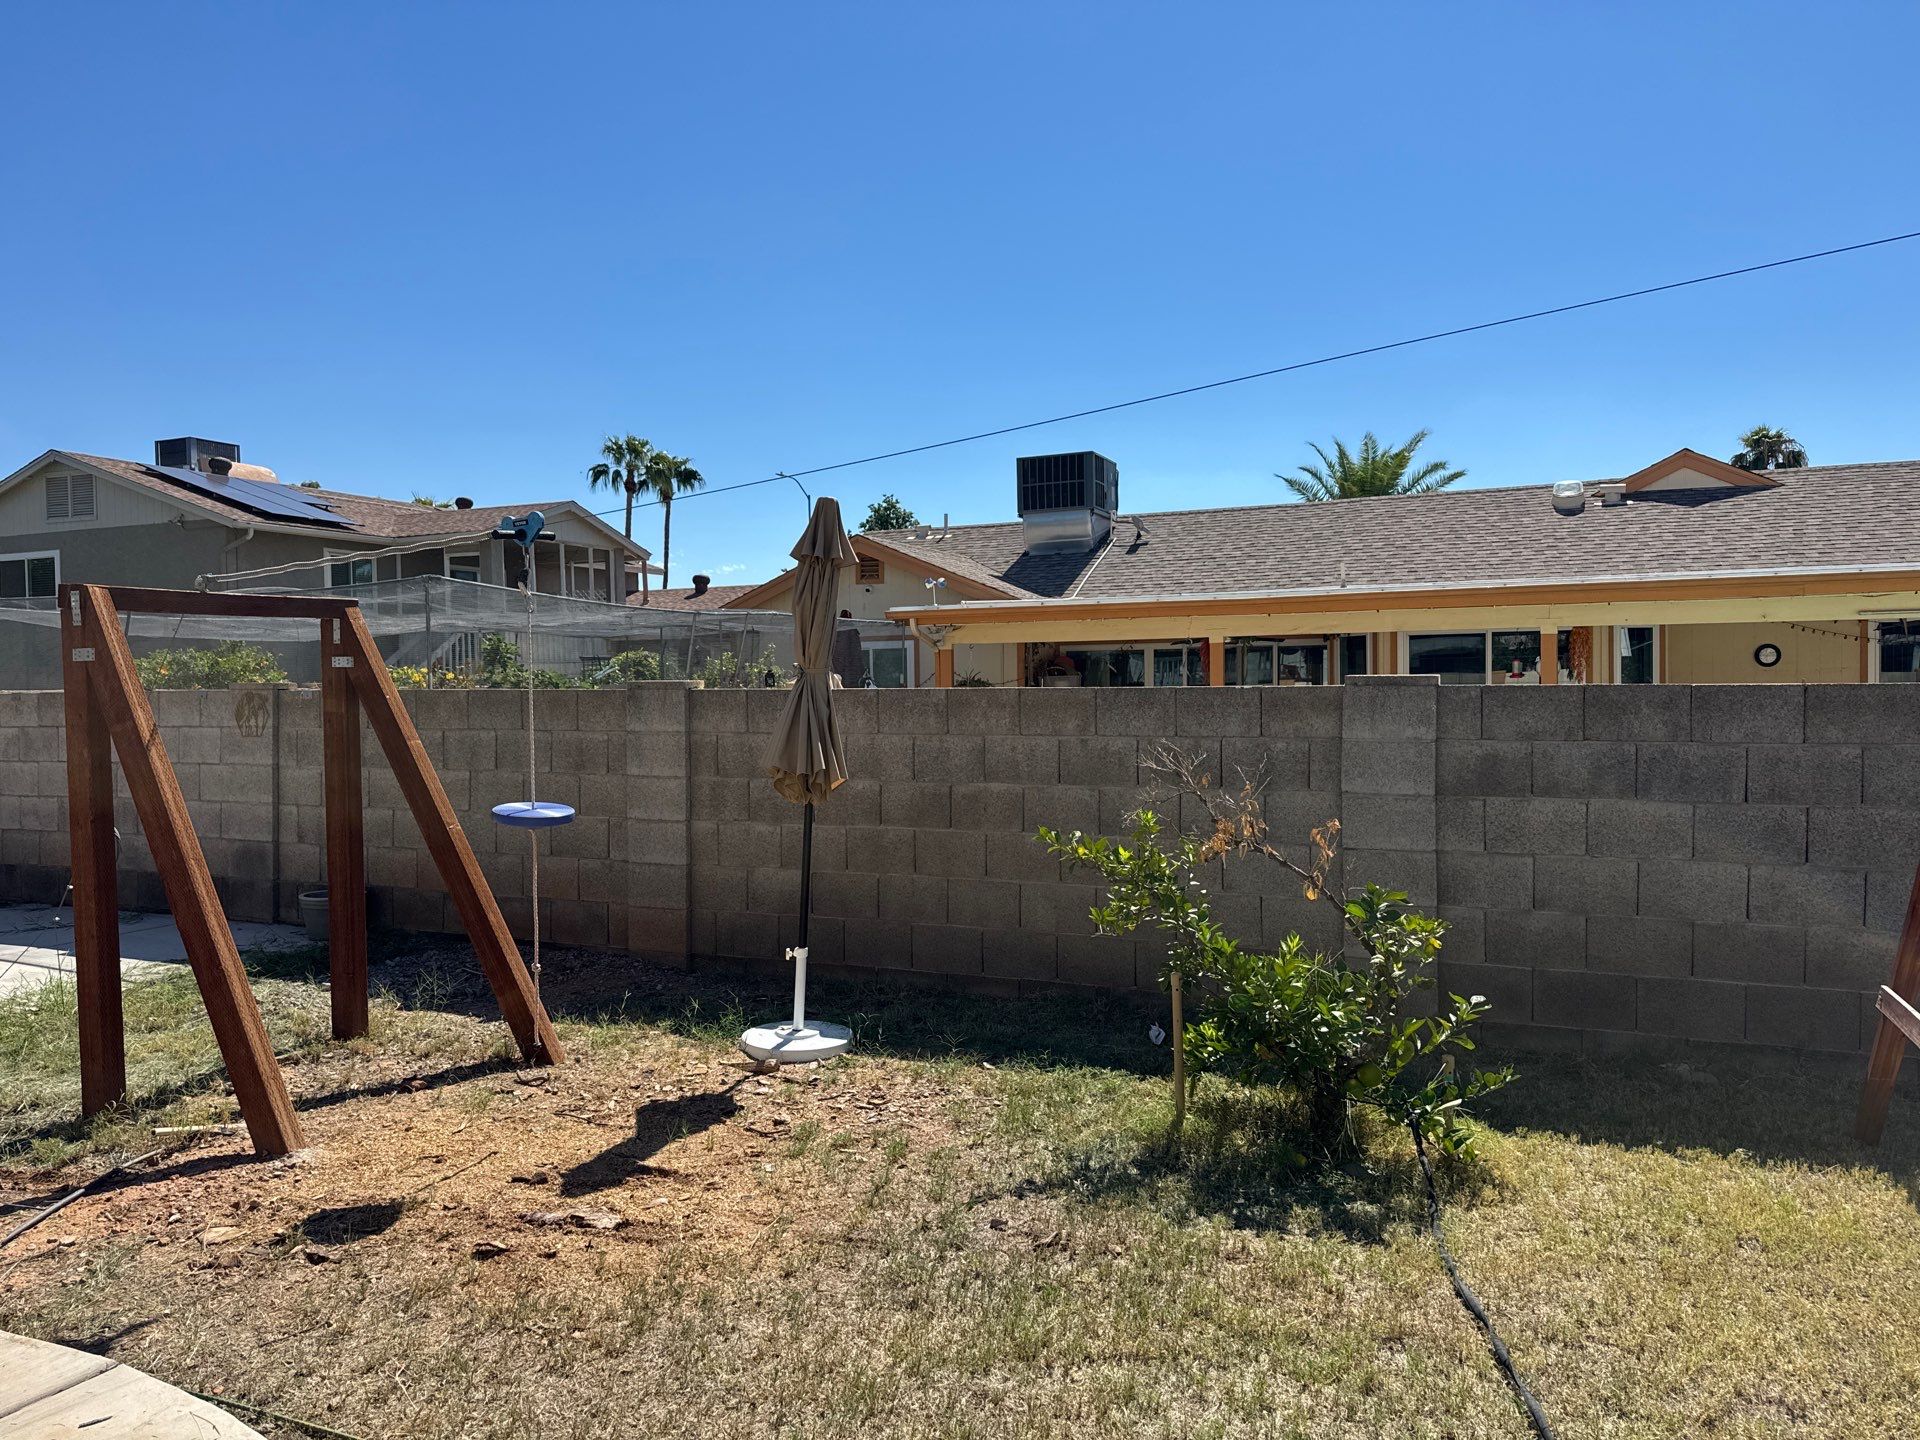
Cover the block walls
All along this wall, and really all the block walls in the yard, planting a hedge would cool the area down a lot and give you some privacy. Block walls soak up heat all day and radiate it back out at night. Covering them makes a big difference.
Orange jubilee, yellow bells, hopseed, or Arizona rosewood would all work.

Orange Jubilee
Fast and lush, with big clusters of orange trumpet flowers spring through fall that hummingbirds love. Grows 10 to 12 feet tall. A hard freeze can nip it back, but it grows right back in spring. Plant 4 to 5 feet apart.
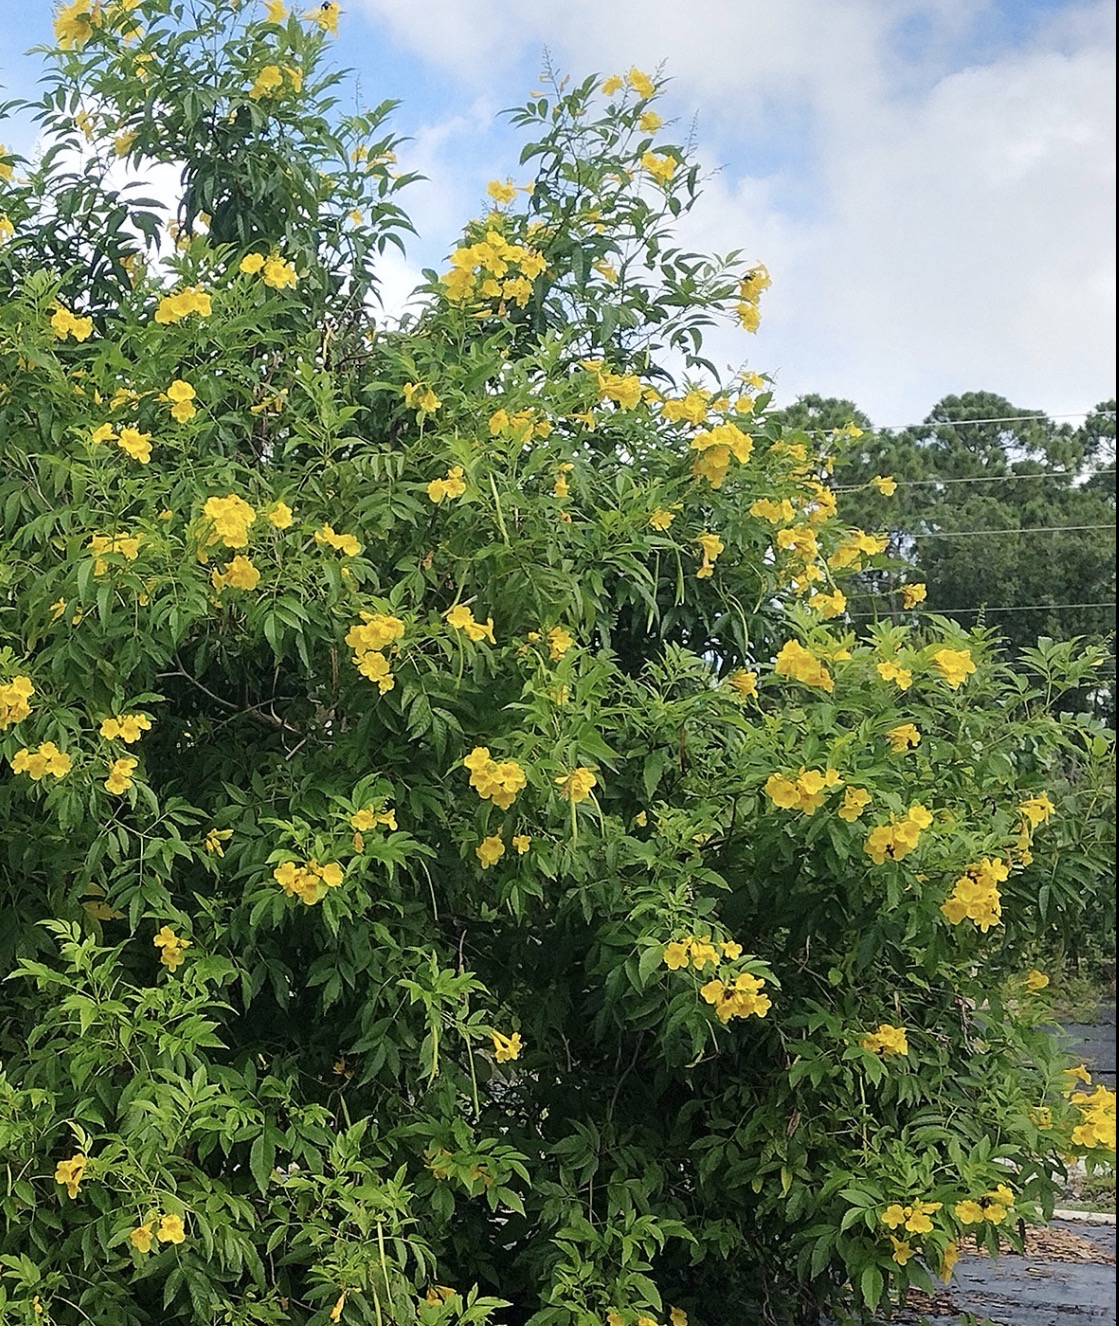
Yellow Bells
Bright yellow trumpet flowers spring through fall on lush green foliage, 8 to 12 feet tall. Takes full sun and heat and handles some shade. A hard freeze can nip it back. Plant 5 to 6 feet apart.

Hopseed
Fast growing native evergreen that fills in to a dense 8 to 12 foot screen. Stays fairly narrow and upright, so it fits tighter spots. Takes less water than plants that aren't desert adapted and handles reflected heat off a block wall. Plant 4 to 5 feet apart.

Arizona Rosewood
Native evergreen with dark, glossy leaves that grows 10 to 15 feet tall. Dense, tidy, very low litter, and one of the best screens for full sun and reflected heat. Plant 5 to 6 feet apart.
Here's a short video on orange jubilee.
You can't fit all of these. Pick your favorites and repeat them along the wall for a clean, continuous look.
Planting the hedge
- Plant 3 to 4 feet off the wall so the back of the hedge gets light and air and doesn't rub on the block.
- Backfill with the native soil plus a tiny bit of compost in the hole, lay compost on top of the soil, then mulch over the compost. Don't work it in, and keep the mulch a foot back from the trunks.
- Water new plants deeply two to three times a week for the first few weeks, then stretch it out. Make sure each plant has emitters, and add more as they grow.
- Let it grow up and fill in before you shape it.
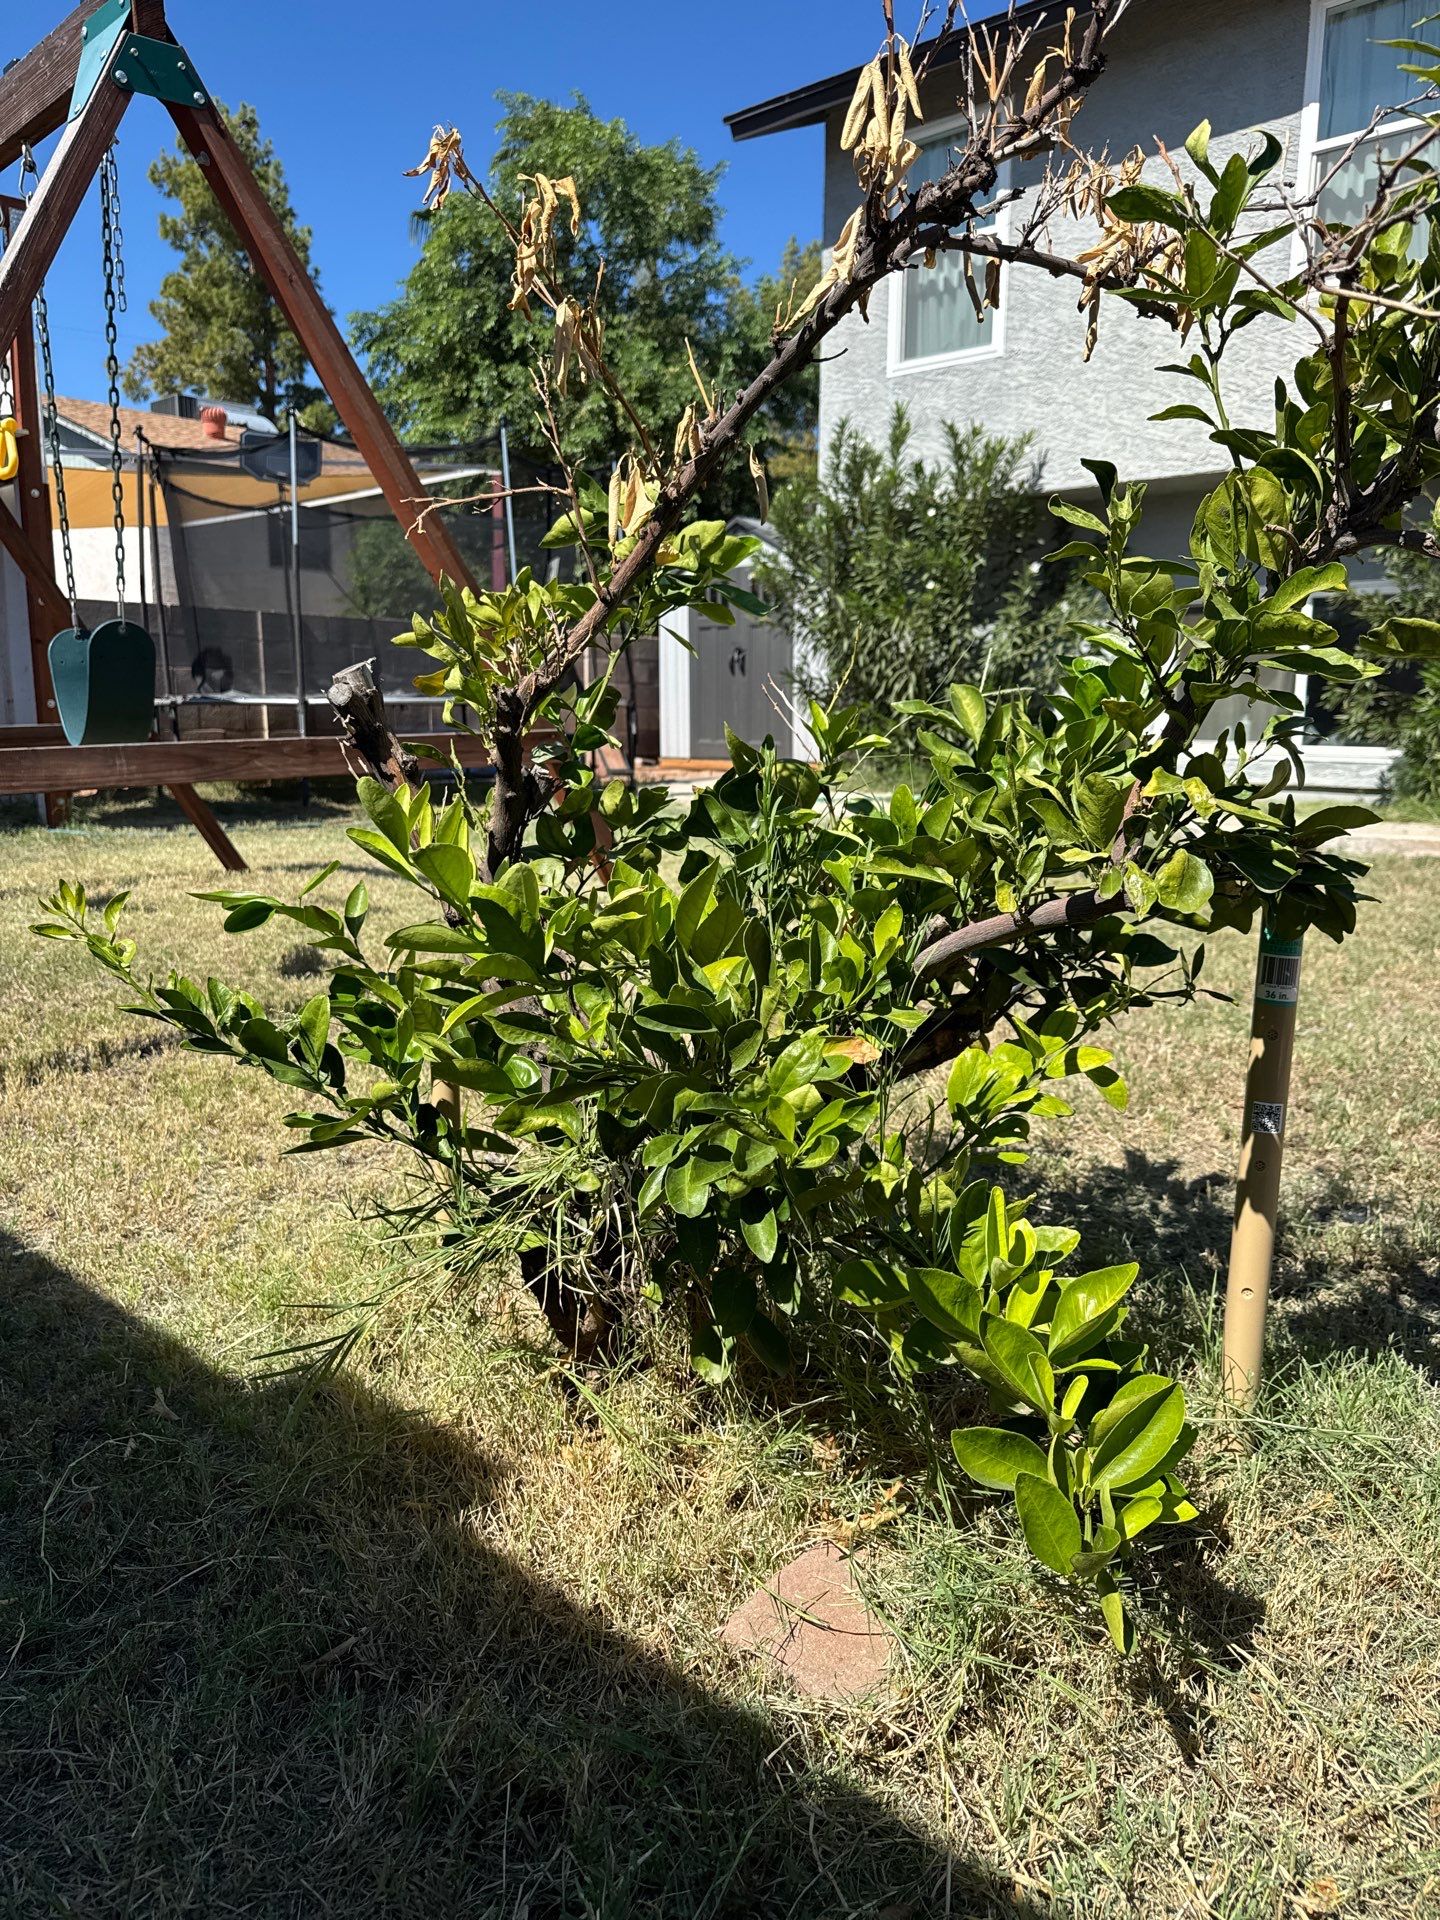
The older orange tree
This orange tree is older, and it looks like new growth is coming. One thing to check: that new growth may be coming from below the graft. If it is, it's growing from the rootstock, which is sour orange, and its fruit isn't something you'd want.
Checking for rootstock growth
- Find the graft union on the trunk. It's a bump, ring, or change in the bark, usually 6 to 12 inches above the soil.
- Any shoots coming from below that line are rootstock. They tend to be very vigorous, often thornier, and the leaves can look a little different.
- Cut those shoots off flush with the trunk. Small ones can just be rubbed off with your thumb.
- Keep checking every month or so. The rootstock will keep trying to push them out, and they steal energy from the good part of the tree.
Helping it recover
Pull the grass back, create a water well, put compost and mulch in it, and give it deep, infrequent waterings.
- Pull the grass, rock, or old mulch back in a wide circle around the tree, at least 3 to 4 feet out from the trunk, and farther as the tree grows. The well should reach out to the edge of the canopy.
- Use the soil to build a low ring a few inches tall around the outside edge. That holds water over the roots so it soaks down instead of running off.
- Spread an inch or two of compost inside the well, then 3 to 4 inches of mulch over it, holding both a foot back from the trunk.
- Water deeply and less often: fill the well slowly, or set a hose on a slow trickle for a few hours, so the water soaks 2 to 3 feet down. Then let the top few inches dry before the next one.
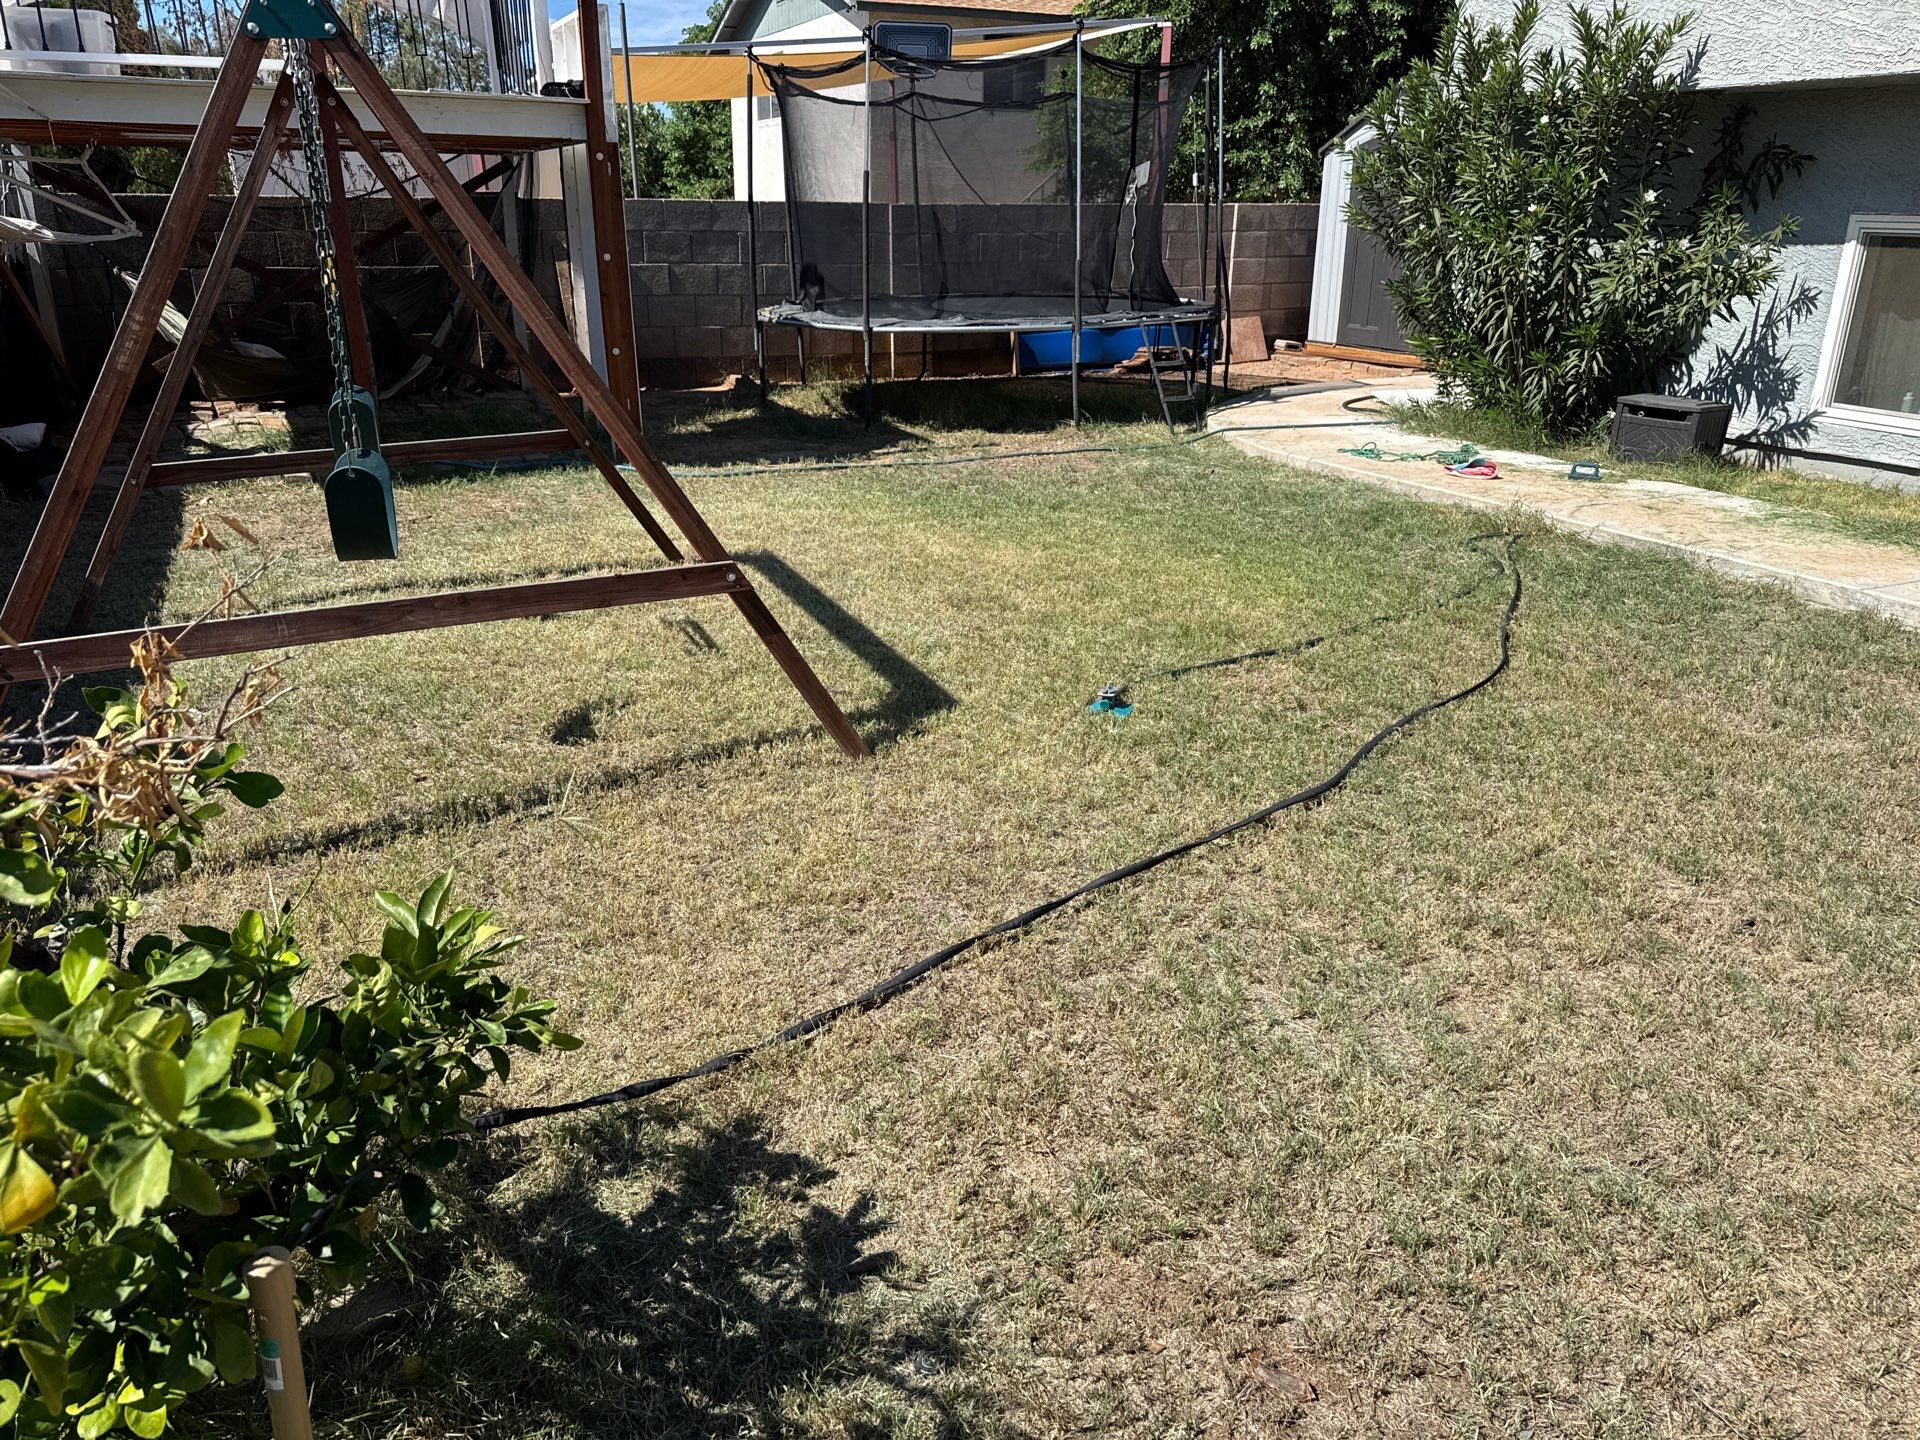
Lawn care
A few changes will make a big difference in the grass: mow it taller and water it less often, but longer.
- Mow higher: raise the mower to about 1.5 to 2 inches for Bermuda. Taller grass shades its own soil, holds moisture, grows deeper roots, and crowds out weeds. Never take off more than a third of the blade at once, and keep the blade sharp.
- Water less often, but longer: short daily waterings keep the roots shallow near the hot surface. Instead, water deeply two to three times a week in summer, enough to soak 6 inches down, and stretch it out as it cools. Once it goes dormant in winter, every two to three weeks is plenty.
- Water early: early morning watering means less is lost to evaporation and the grass dries off during the day.
- Feed the soil: a quarter inch of compost raked into the lawn in spring and fall, worm castings every quarter, and an organic fertilizer during the growing season. The products I recommend are in the Fertilizing section below.
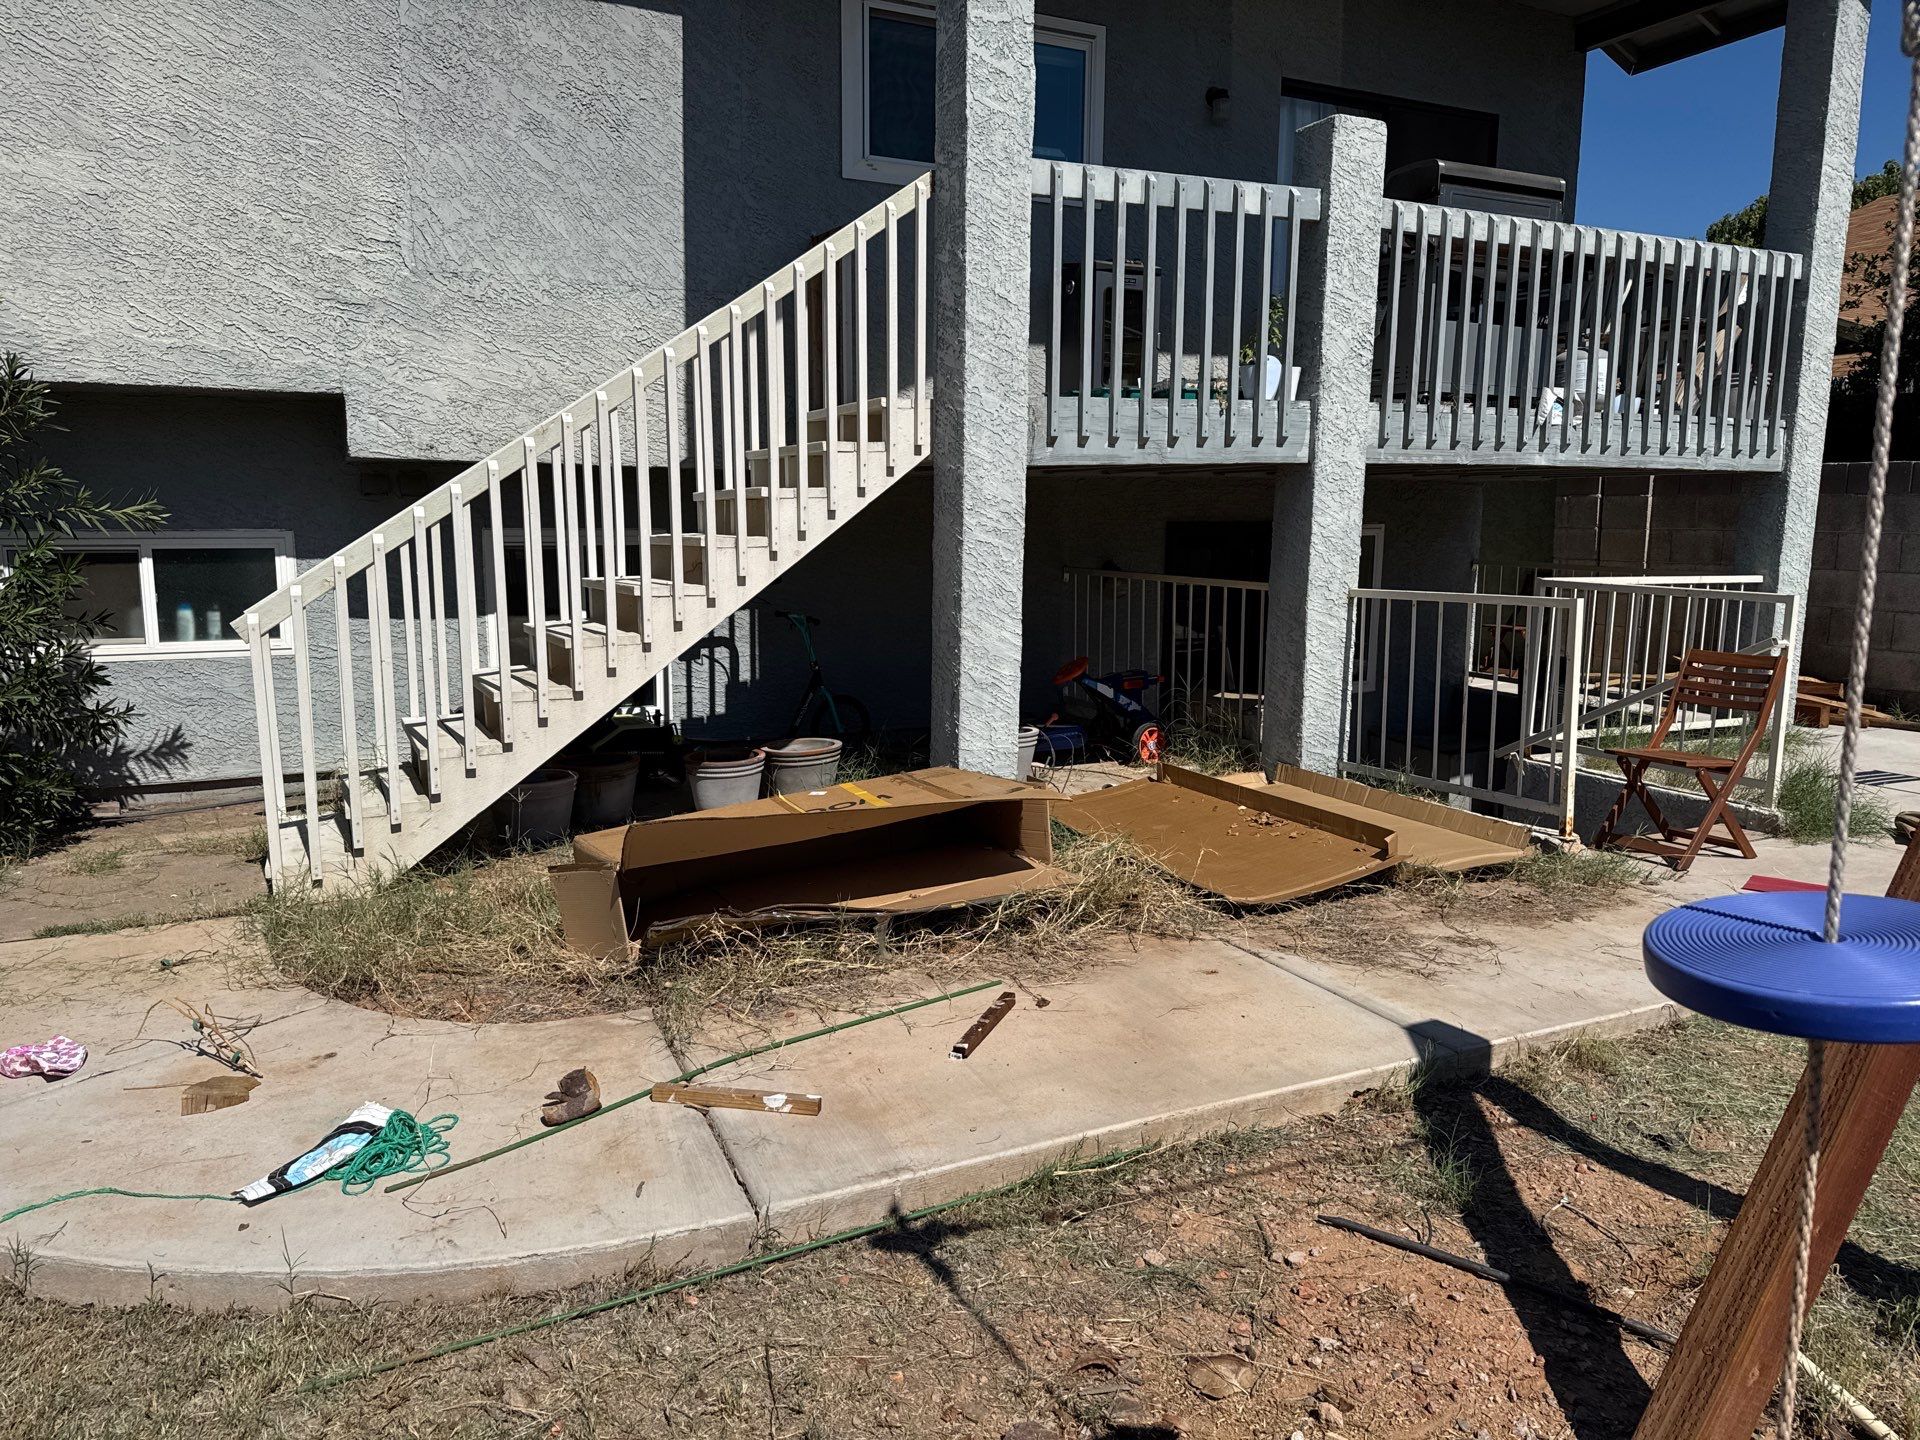
Expanding the garden area
This is where you want to keep growing your garden. The first thing to deal with is all the grass. Rip out the grass first, then put down cardboard, then mulch on top. That will really help keep it from coming back.
Clearing the grass
- Dig out the grass, getting as much of the roots and runners as you can. Bermuda especially will regrow from any piece left behind.
- Lay two layers of plain brown cardboard, tape and labels removed, overlapping the edges by 6 inches so nothing sneaks through the seams.
- Soak the cardboard with the hose.
- Cover it with 3 to 4 inches of mulch.
- When you're ready to plant, pull the mulch aside, cut an X through the cardboard, and plant into the soil underneath with plenty of compost. The cardboard breaks down over a few months and feeds the soil.
Resources
- What to plant and when: my Maricopa County planting guide has the full calendar. Fall is one of the best times to start here.
- Compost and soil: Arizona Worm Farm has quality compost and a garden soil mix that's full of life. Work a few inches of compost into the planting areas before each season.
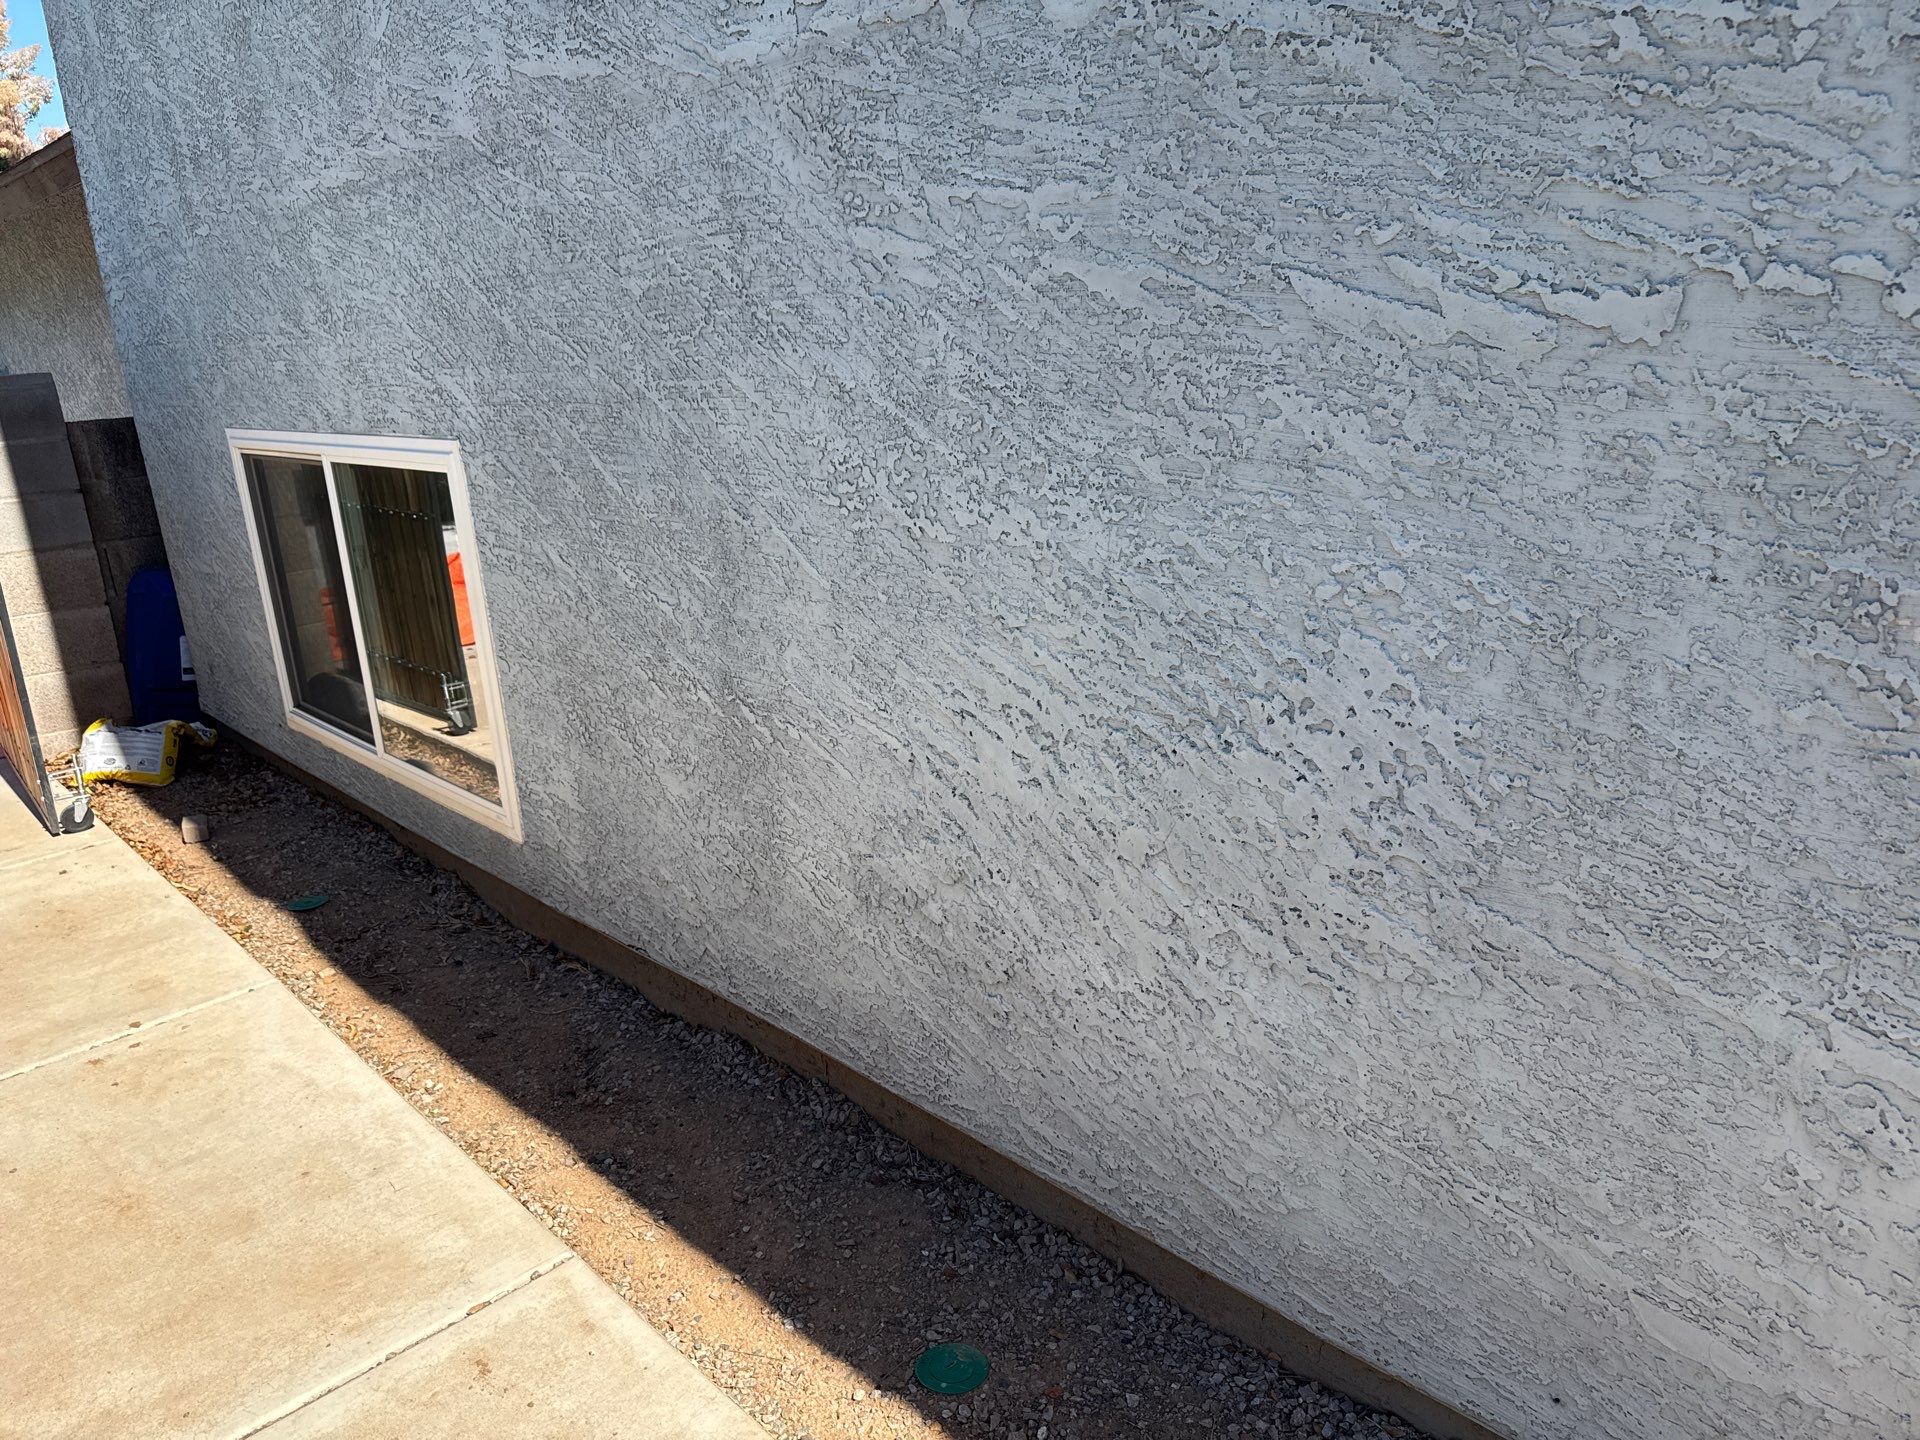
Grapes along the wall
This is where you're thinking about grapes. Flame seedless and Thompson seedless are both great choices for the Valley. Both ripen in early summer, before the worst of the heat.
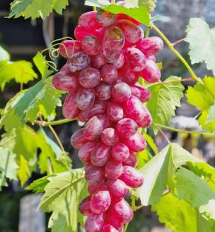
Flame Seedless Grape
Red, crisp, sweet seedless grape that ripens early, around June, before the worst of the summer heat. Well suited to the low desert. Spur pruning works fine on it.
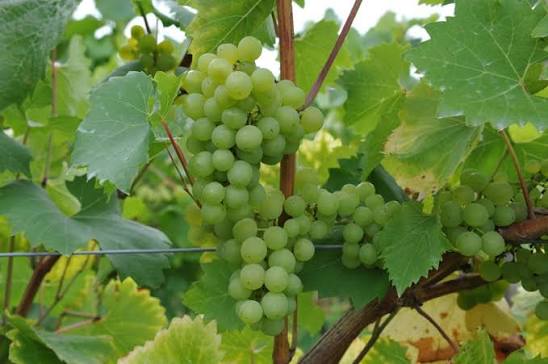
Thompson Seedless Grape
The classic green seedless grape. Vigorous and productive in the heat, ripening in early summer. It fruits best with cane pruning rather than short spurs, covered below.
Planting
- When: late winter, January through February, is the best time to plant bare root vines. Potted vines can go in now through spring.
- Support: grapes need something to climb. Don't train them directly on the stucco. Run two or three horizontal wires on brackets that hold them 6 to 12 inches off the wall, or use a freestanding trellis. That keeps air moving and the wall from cooking the vine.
- Planting: backfill with native soil plus a tiny bit of compost, compost on top, then mulch, a foot back from the trunk. Space vines 6 to 8 feet apart.
Training and pruning
- Year one: pick the strongest shoot and train it straight up a stake to the first wire. That's the trunk. Pinch off everything else.
- Year two: once the trunk reaches the wire, let two shoots grow out along the wire in opposite directions. Those are the arms.
- Every winter after (January): grapes fruit on new growth from last year's wood, so they need a hard prune each year.
- Flame seedless: spur prune. Cut last year's shoots back to short spurs with 2 to 3 buds each, spaced every 6 to 8 inches along the arms.
- Thompson seedless: cane prune. Its buds near the base don't fruit well, so keep 2 to 4 long canes with 10 to 15 buds each, tie them along the wire, and cut the rest off. Leave a short renewal spur next to each cane for next year.
Water and fruit
- Water deeply and less often. Cut back a little as the grapes start to color up in early summer for sweeter fruit.
- Slip mesh bags or netting over the bunches as they ripen. Birds will find them fast.
- Feed them like the fruit trees, covered in the Fertilizing section.
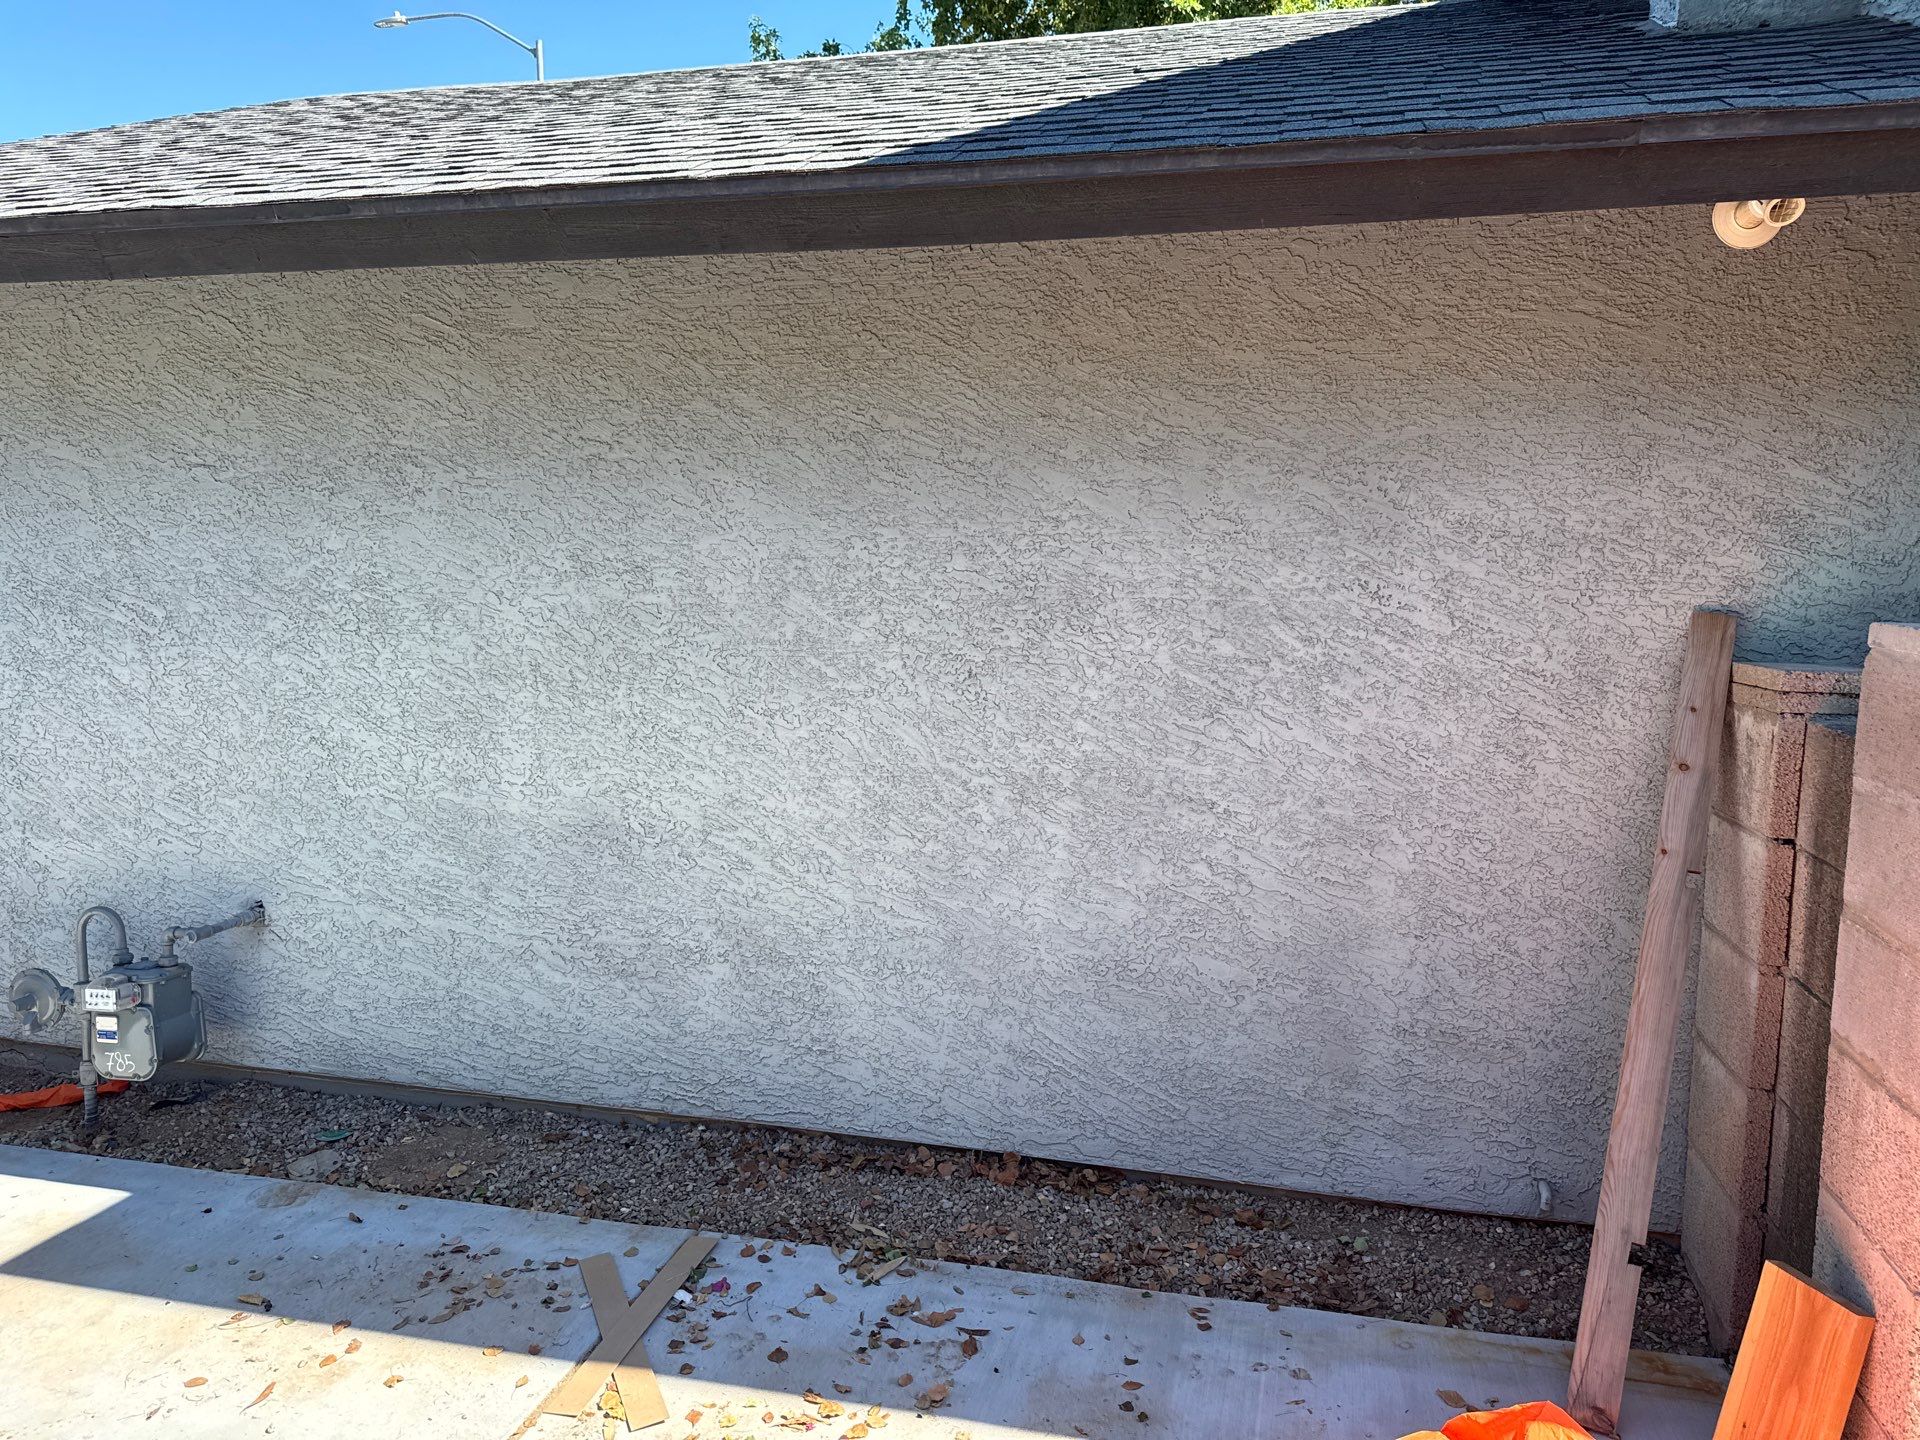
Barbados cherry along this wall
Here you're considering Barbados cherry, and I think it would work the best. It loves the sun, stays a manageable shrub size along a wall, and fruits several times a year. Pineapple guava is another good option.
Barbados Cherry
Shrub, 6 to 10 feet, with glossy green leaves, small pink flowers, and bright red, tangy cherries loaded with vitamin C, several crops a year. Loves full sun, including hot afternoon sun. Protect it on frosty nights while it's young.
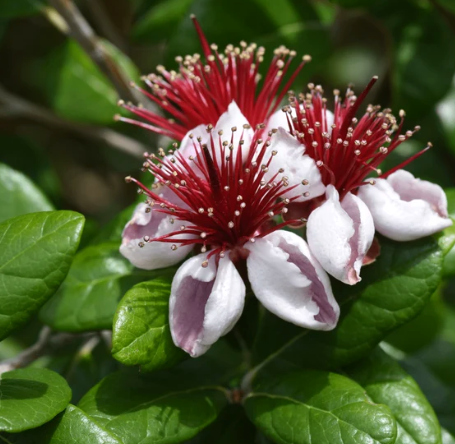
Pineapple Guava
Evergreen shrub, 8 to 12 feet, with gray green leaves, edible flower petals, and sweet, tropical fruit in fall. Hedges well along a wall.
- Plant 2 to 3 feet off the house wall so there's airflow behind them and room to get back there.
- Space them 5 to 6 feet apart if you want them to grow together into a hedge.
Root flares, and planting new trees above grade
The root flare came up on both the lemon and the elm, and it applies to every tree you plant from here on, starting with the shade trees. The root flare is where the trunk widens out into the main roots. That part of the tree is meant to be exposed to air. When it's buried under soil or mulch, the bark stays wet and starts to rot, roots start circling the trunk, and the tree slowly chokes itself. It can take years to show, and by then it's often too late. You can see examples in the root flare video.
The fix is simple: every new tree goes in with the root flare slightly above the surrounding ground. Here's how.
- Check the roots at the nursery. Slide the tree out of the pot. If thick roots are circling the outside, pick a different tree.
- Find the flare before you dig. Nursery trees are very often potted too deep. Brush or rinse the soil off the top of the root ball until you find where the trunk widens into the roots. That's your real planting level, not the top of the pot soil.
- Dig wide, not deep. Make the hole two to three times as wide as the root ball but only deep enough that the flare will sit 1 to 2 inches above the surrounding ground. Set the root ball on firm, undisturbed soil so it doesn't sink.
- Loosen circling roots. Tease any circling roots outward or cut them cleanly.
- Backfill with the native soil plus a tiny bit of compost. Then lay compost on top of the soil and mulch over the compost. Don't work it in, and keep both a foot back from the trunk.
- Never pile soil or mulch against the trunk, now or later. Check it every so often, because mulch and soil creep back in over time.
- Stake only if it needs it, with two stakes outside the root ball and soft ties low on the trunk so it can sway. Pull them after a year.
Fertilizing
Fertilizing is one of the most important things you can do for the fruit trees, and it's usually the piece that gets skipped. Making fruit takes a huge amount of energy. A tree that isn't being fed will hold on to its leaves first and drop its flowers and young fruit, so you get small crops, small fruit, or nothing at all. Fed trees flower more, hold more fruit, make sweeter fruit, handle the summer heat better, and fight off pests on their own.
The key is feeding the soil, not just the tree. Healthy soil full of fungi, bacteria, and worms delivers nutrients to the roots steadily, the way the tree actually uses them. Synthetic fertilizers give a quick push of leafy growth and then crash, and they don't build anything in the soil. Here's the exact approach I use, so you can do it yourself on all of the fruit trees, the grapes, the Barbados cherries and guavas, the shade trees, the hedges, and the lawn.
- Compost, and be generous. On trees, spread it in a wide ring around the drip line, the outer edge of the canopy where most of the feeder roots are, from about halfway in to a couple feet past the edge. On shrubs, put it closer in, from a few inches off the stems out about a foot past the edge of the plant. Go 1 to 2 inches deep, and if you're unsure, go thicker rather than thinner. You really can't overdo quality compost. Do this three times a year: late winter (February), early summer (May), and fall (October).
- Worm castings every quarter. Every three months, scatter worm castings over the same areas: a few cups around each shrub and a couple pounds around the drip line of each tree. Castings are loaded with beneficial microbes that bring the soil to life. When it lines up with a compost round, put the castings down first and the compost right over them.
- A good organic fertilizer. These are the three products we use and recommend, all from Catalyst. Apply them at the label rate on the schedule each one gives.
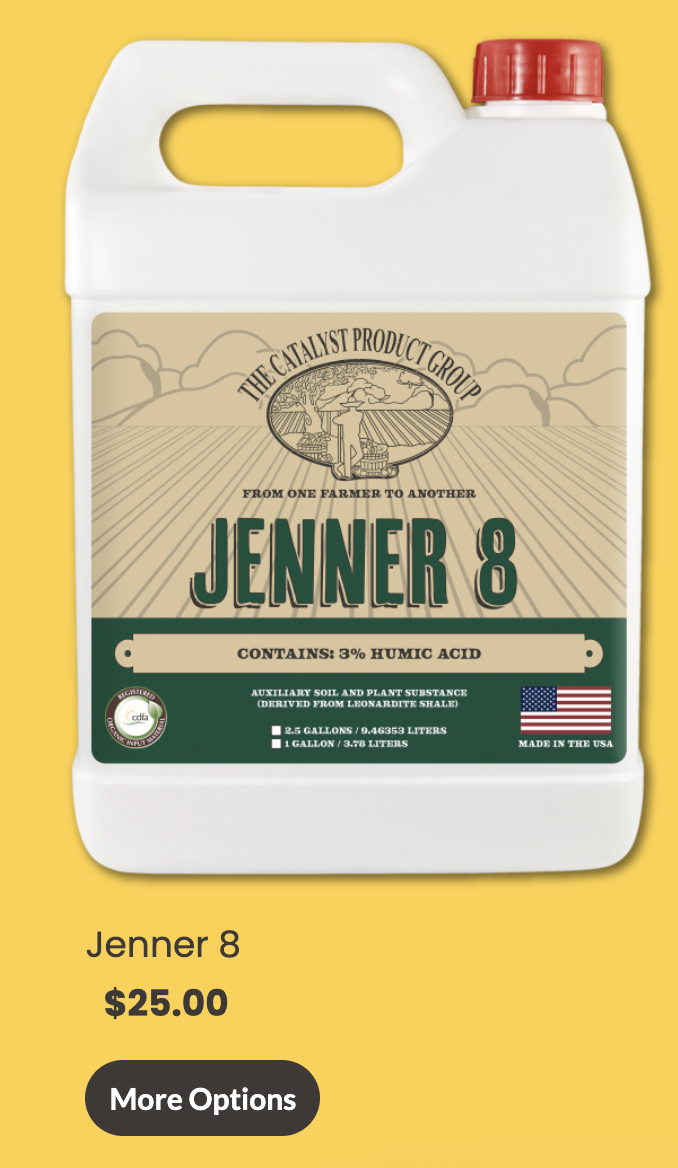
Jenner 8
Liquid organic feed for the whole landscape.
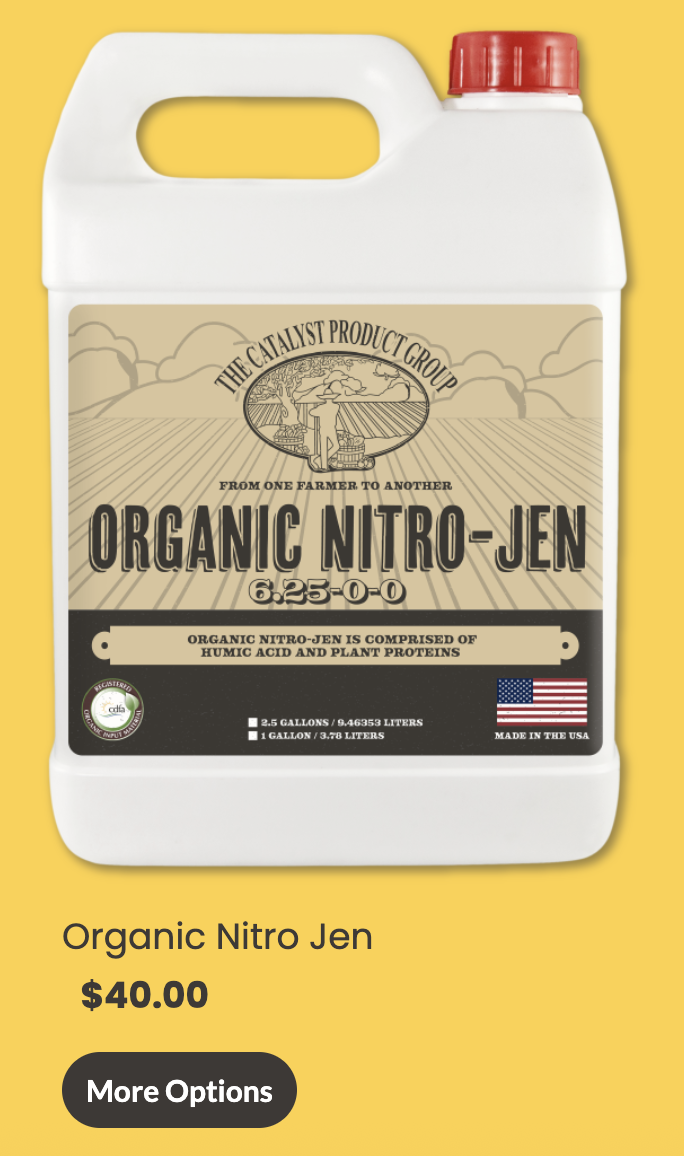
Organic Nitro Jen
Organic nitrogen to push healthy green growth.
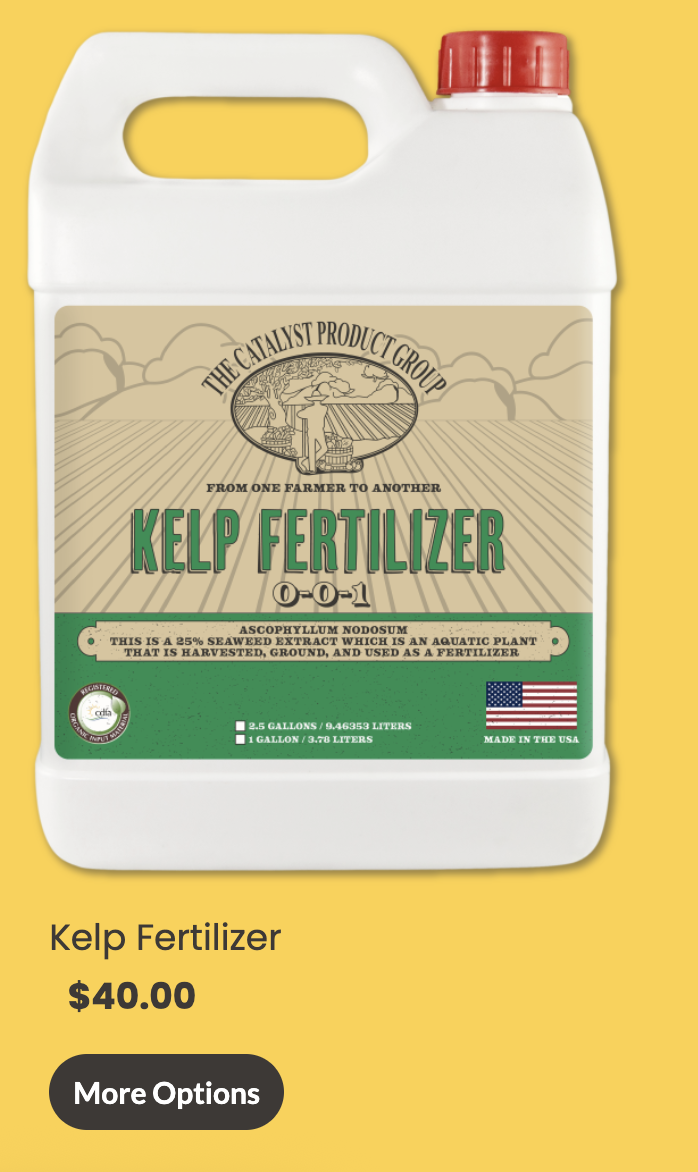
Kelp Fertilizer
Kelp based feed that supports roots and overall plant health.
You can find all three on the Catalyst website. Click Products, then Home and Garden.
- Water it all in. Give everything a deep watering right after you put it down so it soaks into the root zone.
- Mulch over the top. Mulch goes over the compost to keep it moist and cool so the soil life can do its work. Hold it a foot back from trunks and stems. No need to work any of it into the soil.
Compost, worm castings, and mulch are all at Arizona Worm Farm.
Timing by type
- Citrus (the lemon and orange): on top of the routine above, they really benefit from a feeding around Valentine's Day, Memorial Day, and Labor Day.
- Deciduous fruit (grapes, figs, pomegranates, mulberry, persimmon, jujube): the big feeding is late winter, right as buds start to swell, then again after harvest.
- Tropicals (mango, guava, banana, Barbados cherry): feed through the warm season, March through September, and hold off in winter so you don't push tender growth before a frost.
If you'd rather we handle it
Our monthly landscape fertilizing program handles all of it: the fruit trees, shade trees, hedges, edibles, and the lawn.
- Monthly compost based liquid feeding across the full landscape
- Compost applications three times a year
- A recap video sent to you after each visit
Quick reference
Compost, mulch, soil, worm castings
Arizona Worm FarmOrganic fertilizer
Catalyst (Products, then Home and Garden)Tropical fruit trees
Greenlife NurseryWhat to plant and when
Maricopa County planting guideRoot flare video
Why the root flare mattersArborist
King's Tree ServiceIrrigation
Garrett: 480-678-9121Questions
Ask me anytime in the Garden Nerd ClubNext steps
You can take this list and do it yourself, and I'm right there in the Garden Nerd Club if you want a second set of eyes along the way. If you'd rather have us handle the planting, like the shade trees, the wall hedges, and the pollinator garden, I can put together a planting proposal for you.
For anything irrigation related, call Garrett at 480-678-9121.
You can see more of what we do on our planting services page.